
This tutorial will explain the process of creating the ConentImage.xbx and ContentMeta.xbx files for your Halo 2 DLC. A ContentImage.xbx file, as the name suggests, is an encoded image file that is used as the DLC icon on the Xbox dashboard. And a ContentMeta.xbx file contains the information that the Xbox needs to load the DLC, such as a list of the files and their signatures.
This tutorial will be very long and tedious, however creating these files is a necessary step for creating Halo 2 DLC.
Things you will need for this tutorial:
- A map file (This could be one that you have created yourself or one that you have downloaded. I will be using Long Night)
- A patch_v3.lvl file that contains your map and its signature (Creating patch_v3.lvl Files)
- Xbox Live Authoring Submission Tool (XLast) which is included in the Xbox Development Kit (XDK)
I will not be including a download link to the XDK or XLast. But for reference I am using XDK version 5933.
Now on with the tutorial.
Step 1
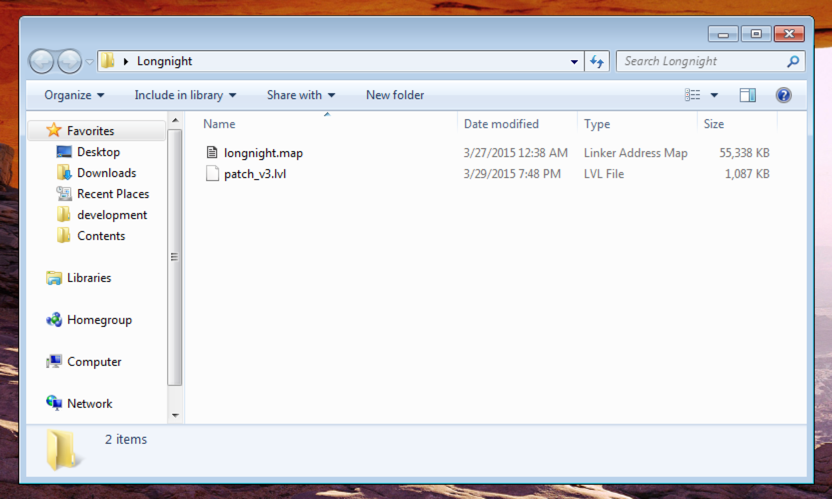
Create a new folder and place your map and patch_v3 inside. This is not required but it helps to keep things tidy.
Step 2
Open XLast. In the top left of the window, click “File” then “New” (or press Ctrl + N). You should then see the following screen.
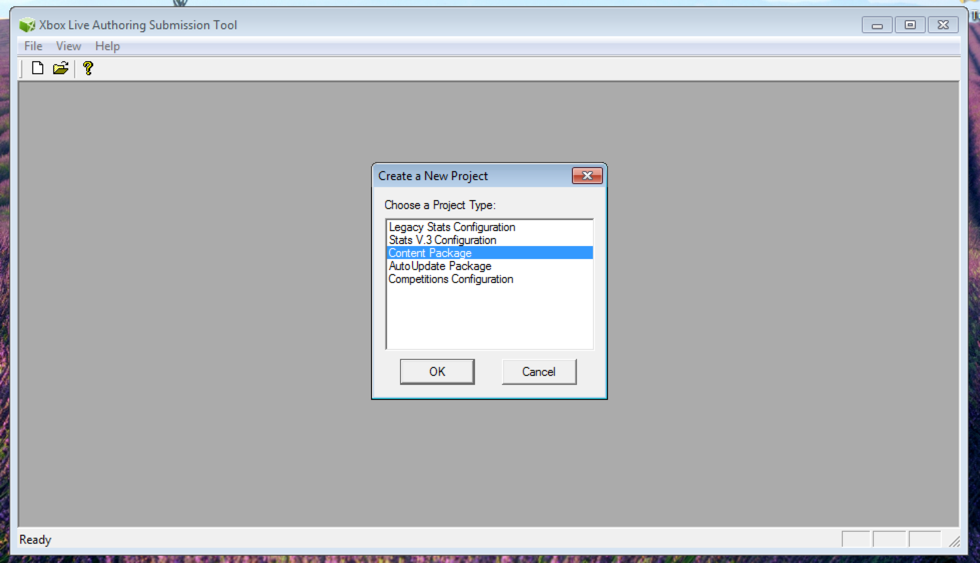
Select “Content Package” and click “OK”
Step 3
You will now be presented with the “New Content Package Wizard”
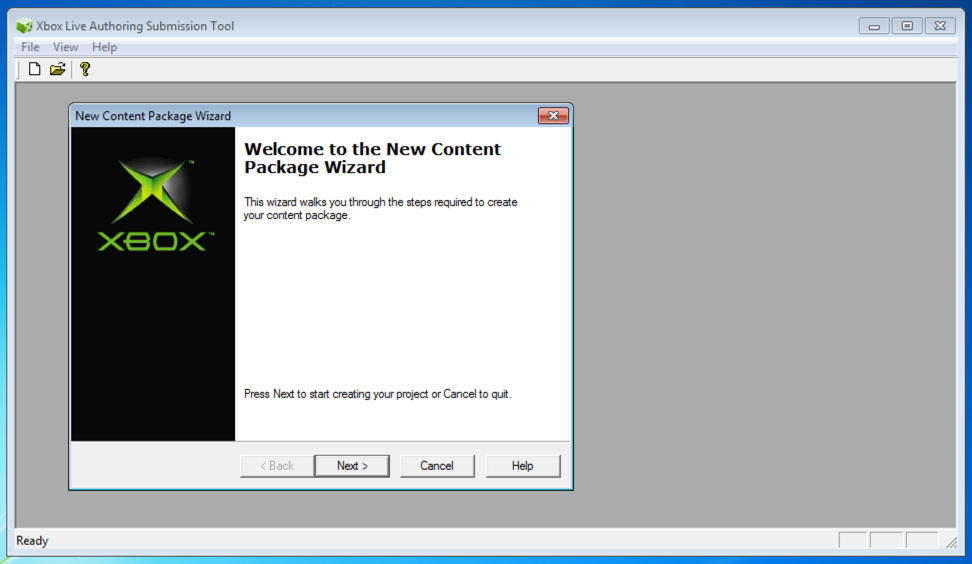
Click “Next >”, and then you will see the following screen
Step 4
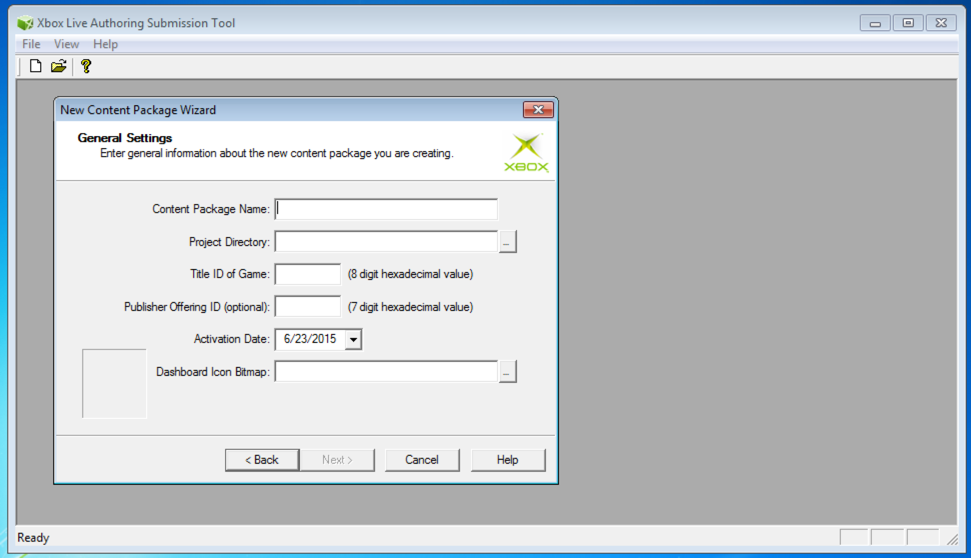
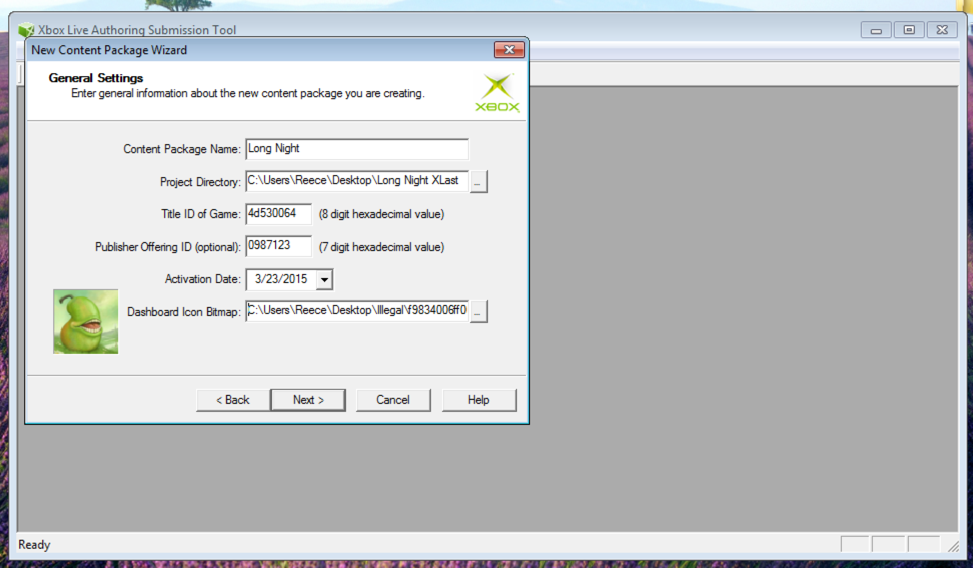
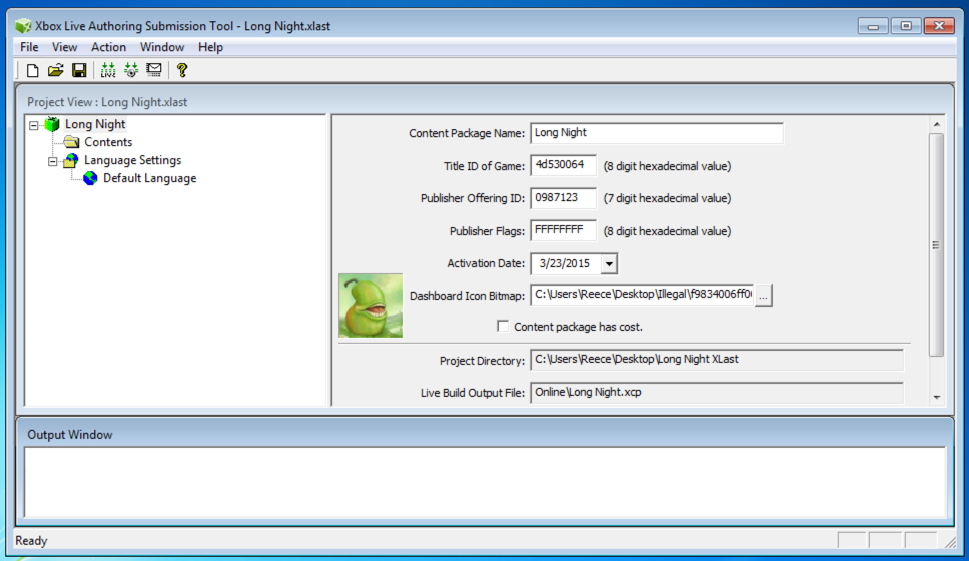
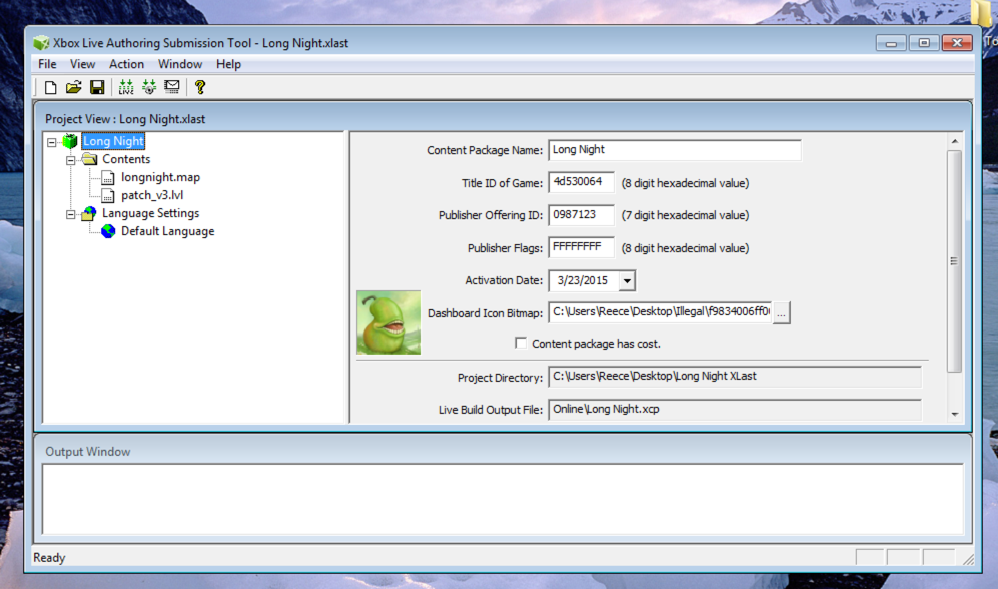
You will now need to fill in the details about your content.
Start by giving your DLC a name. Do this by typing its name in the “Content Package Name” field. I will be naming mine “Long Night”.
In the “Project Directory” field below, click the “…” button located to the right of the field. This will prompt you with a directory picker.
Create a new directory for your project. I named my directory “Long Night XLast”
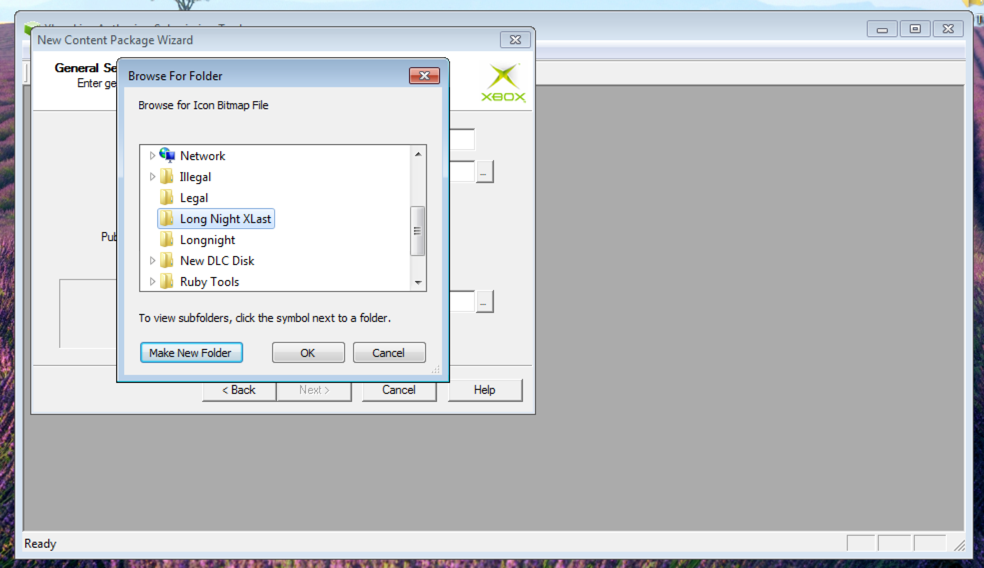
Click “OK”
For the “Title ID of Game” field, enter “4d530064”.
Now, for the “Publisher Offering ID”, enter 7 (seven) hexadecimal characters of your choosing. Hexadecimal is 0-9 and A-F. I typically start it with “0” to keep things uniform. I will be entering “0987123”.
For the “Activation Date”, choose a date that is either the current date or earlier.
And lastly, for the “Dashboard Icon Bitmap” choose a bitmap file that is 60x60 pixels. I will be using the LOLWUT Pear (because why not?)
With all of these fields filled in, you should see something like this:
Now click “Next >” again.
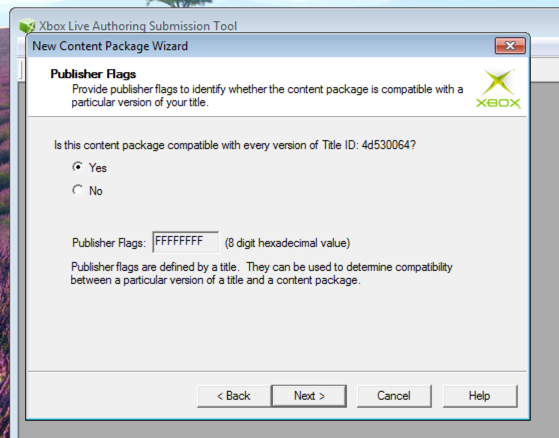
Step 5
You will now reach the “Publisher Flags” part of the wizard. It will ask you if your content package is compatible with all versions of the title ID (Halo 2), select “Yes”, and click “Next >” again.
Step 6
You will now be asked to choose which languages to support. This does not mean that your content will not work on the languages that are un-checked. Leaving a language un-checked will mean that if your console is of that language it should use the default values. My advice is to un-check all of them (unless you really want to enter the text for all of the languages).
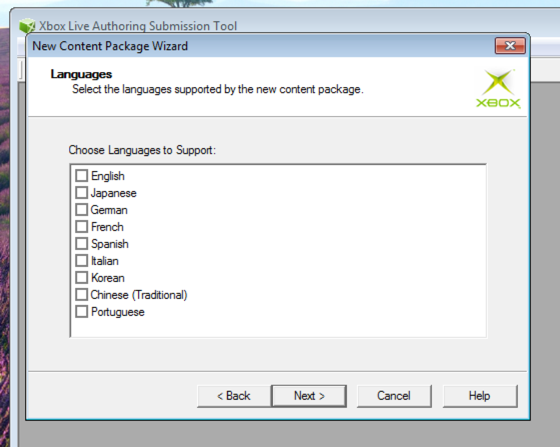
Click “Next >” again
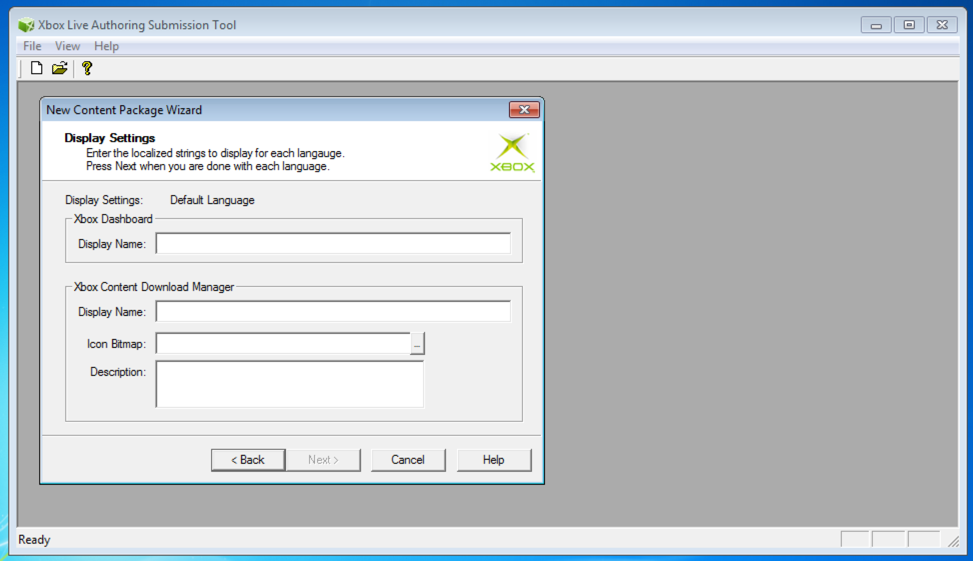
Now you need to fill in the “Display Settings”.
Enter your content’s name in both of the “Display Name” fields. (I will enter Long Night).
For the “Icon Bitmap” choose your icon again.
Then in the “Description” field, enter a description of your choosing. (I’m just going to enter “It’s going to be dark forever”)
Then click “Next >” one last time
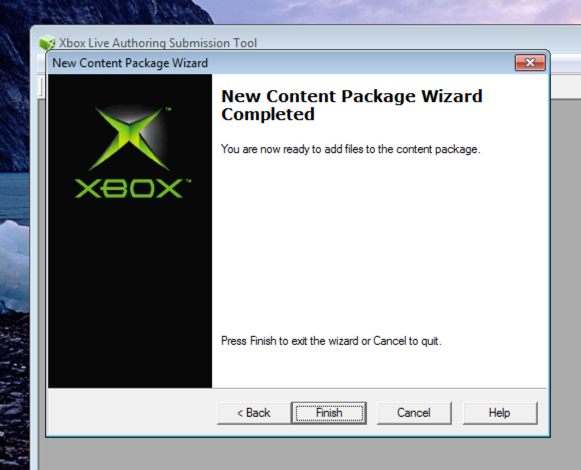
And finally click “Finish”
Step 7
If you have followed everything correctly so far you will see something like this:
Right click on the “Contents” folder, and click “Add File…”
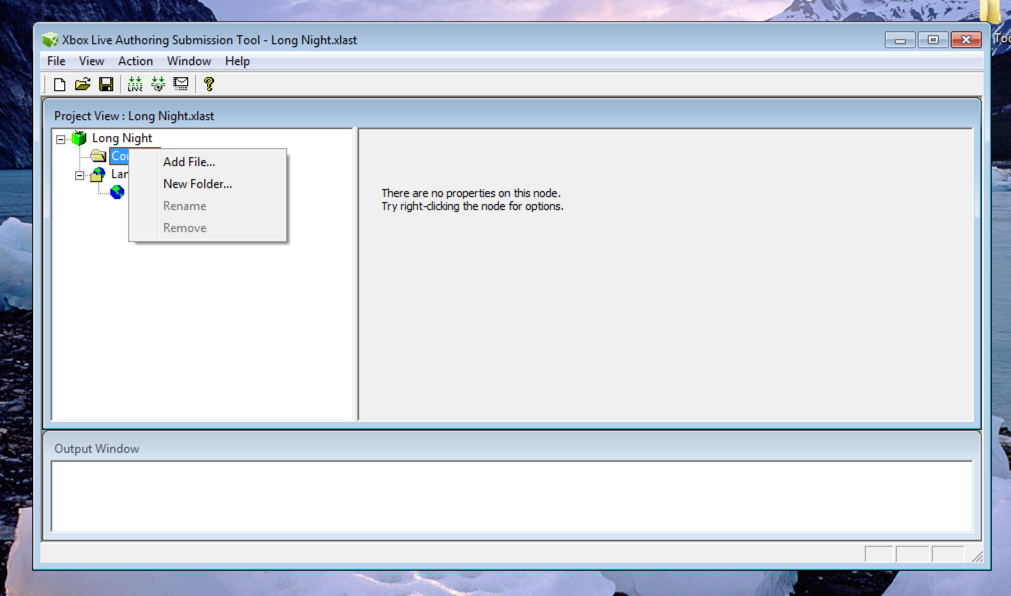
Locate the folder that you put your map and patch_v3 files in, and add both of them.
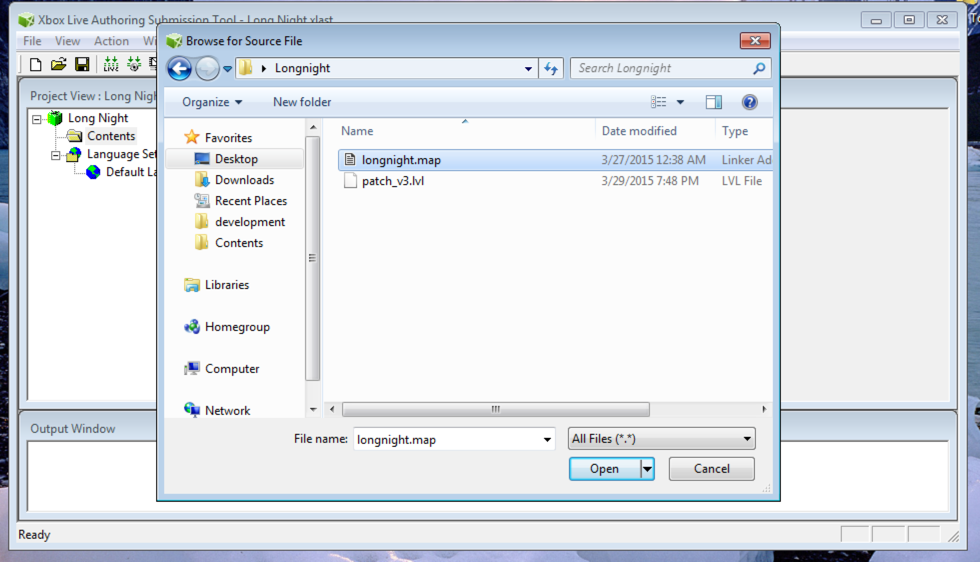
Your files should now be shown in the contents folder to the side of the window.
Step 8
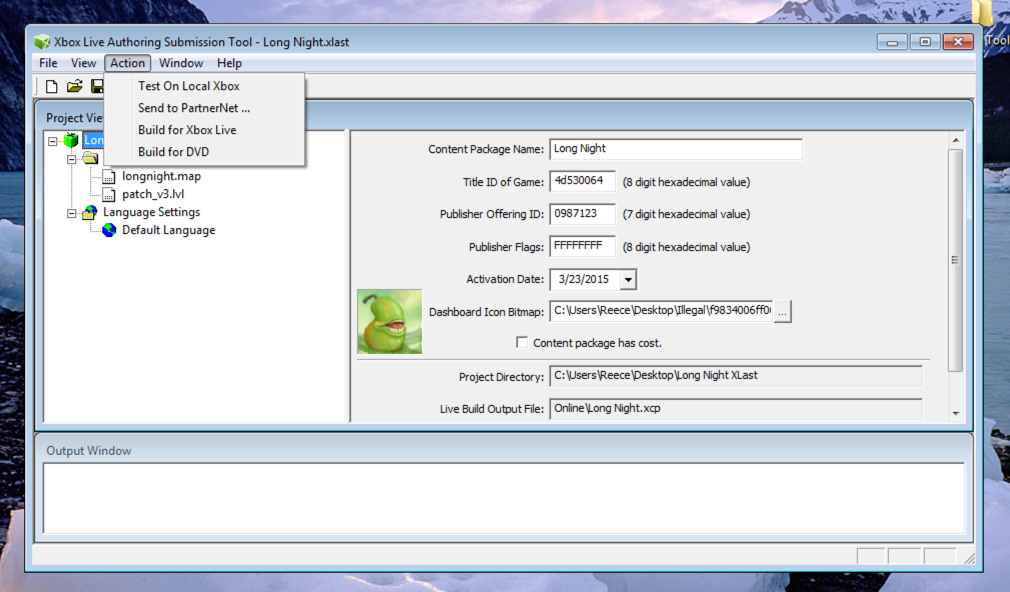
Choose “Action” at the top of the screen, and select “Build for DVD” and wait for it to complete.
If everything worked there should be some newly created files in your Project Directory that you created in step 4.
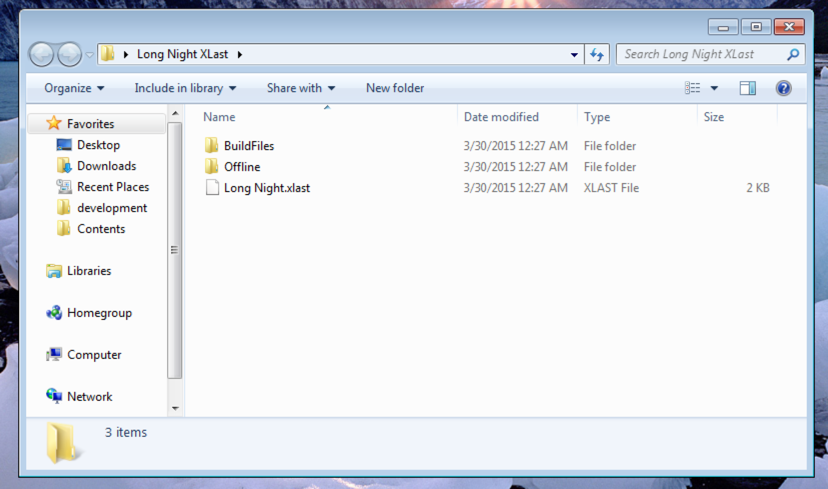
In the “Offline” folder there will be: your map file, your patch_v3 file, your newly created ContentMeta.xbx file, and your newly created ContentImage.xbx file.
Complete
I hope everything was clear, but feel free to ask questions if things are still unclear.
This tutorial is number 3 of my 4-part tutorial for creating Halo 2 DLC. Once the fourth piece of the tutorial comes out creating Halo 2 DLC will be simple.


