
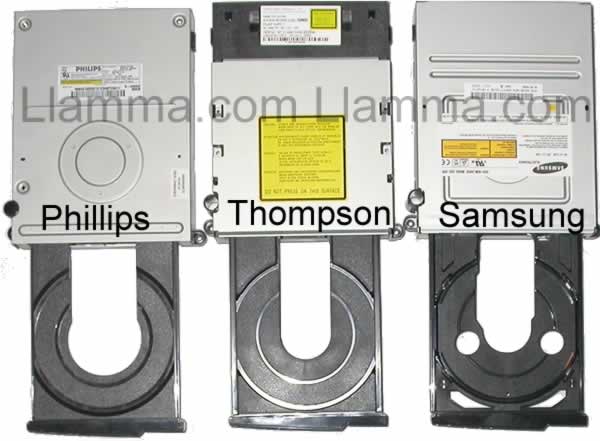
In this pic you can see what type of DVD drive you have thanks to SiLeNcE
**WARNING** You can break/fry and/or electricute yourself by messing with the box while it is turned on. Proceed at your own risk.
So for you out there that don't know how to mod firmware or don't have a Ver. B here is a quick tutorial on hot swapping. Now I know that the Samsung Ver. A will read a properly burned Halo 2 backup and I've heard that a Phillips will as well but the Thompson..... probably not. So here we go.
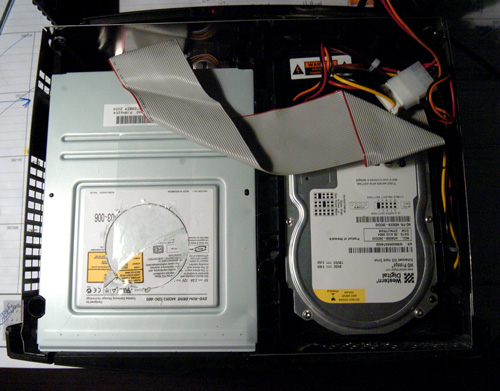
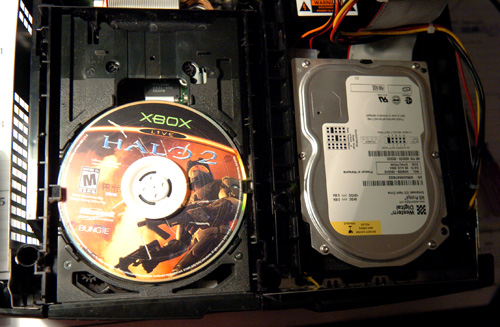
First, unplug your xbox power cord and av cables. Flip the box over and unscrew the 6 star screws located under the rubber tabs on each corner (4) and the two under each of the stickers (2 one at the top and one at the bottom). Slowly flip the case back over and life the cover off. The inside of your box will look like this.
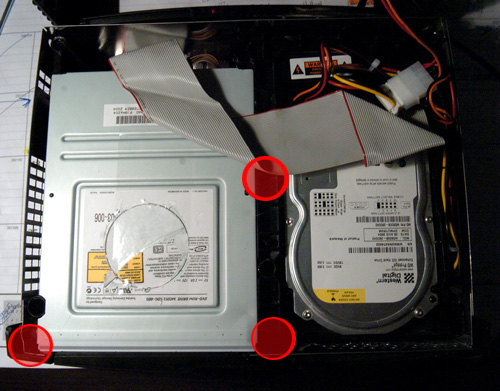
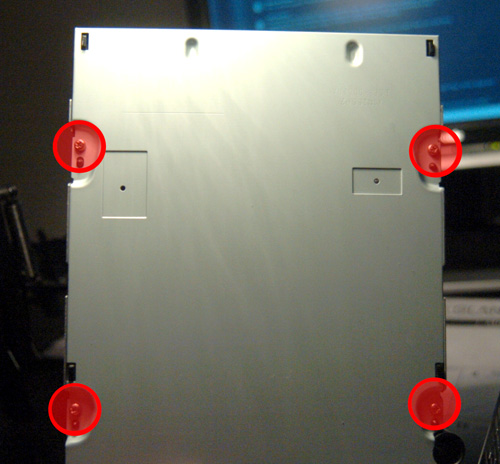
Next unscrew the three screws holding down the DVD-Rom bracket. They are shown below. One below the ribbon cable and (2) on either side of the front of the DVD-Rom.
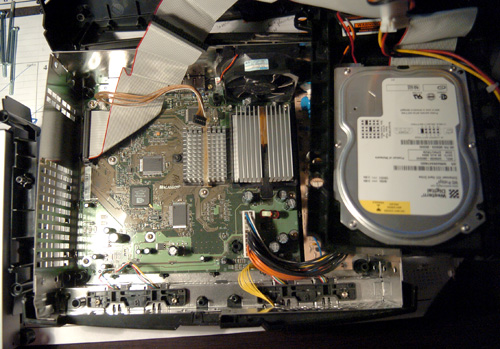
Then slowly un-latch the cords from the right side of the plastic hard drive mount. After that it will easily lift out enough so you can get to the DVD-Rom. Now you will unplug the thick grey cable (ribbon cable) from the back of the DVD-Rom and the little brown cord thats next to it. Remember you unplug them from the DVD-Rom itself, NOT the motherboard. After this, the DVD-Rom and its plastic mounting bracket should come out pretty easily and you box should look like this.
Now turn your attention to the DVD-Rom. Take the plastic mounting off, it should just pop right off no problem. Now flip the DVD-Rom over and unscrew the four screws that holds the metal case on.
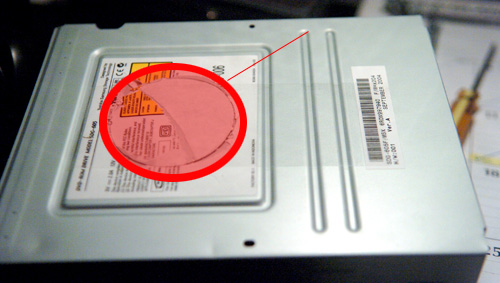
Next you take the entire cover off, top and bottom. Take the top part and get a knife or flat head screw driver and slowly go around the circle grove around the main sticker as shown in the pic below.
After you cut around the sticker, slowly take off the round disc. It might be a little tough because of the glue but it will come off. Then take the small round disc magnet out and save it for later. See the pic for what it looks like.

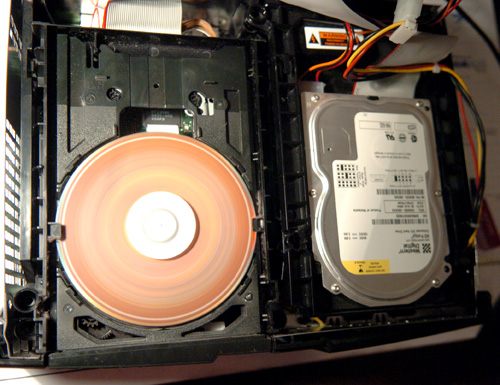
Now place the metal bottom of the DVD-Rom back on the DVD-Rom and then put it back in its plastic mount and place it back in the xbox, plugging in the ribbon cable and the small brown cord you unplugged earlier. Then place the hard drive back in as well. When this is done, place the Halo 2 Disc in the drtive and the place the small plastic metal disc we took out of the DVD-Rom case on top of the disc in the middle. It should look like this.
Now plug your power cord and the av cables back in and turn the power on. Your disc will start to spin up.
Let the box boot up all the way until the Halo 2 Main Menu (The one that has all of the Camp., Xbox Live, System Link... etc. on it) then take your finger and lightly press down on the disc until it stops spinning.

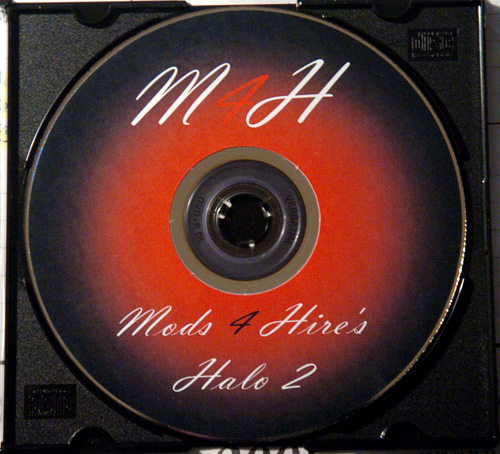
Now take your properly burned Halo 2 Disc:
and swtich them out, putting the little magnet back on the top of the disc like before. Also you might have to be a little fast just in case the game doesn't lag out. Let it spin up. And if all goes well you should be able to play H2 off your burned disc like normal with your modded old maps.


