Jump to content

  •  

  • iBotModz CBox


    halodu03de

    Member Since 13 May 2008
    Offline Last Active Sep 13 2010 09:19 PM
    -----

    #108422 DarkFallBrowser

    Posted by halodu03de on 24 October 2009 - 07:04 PM

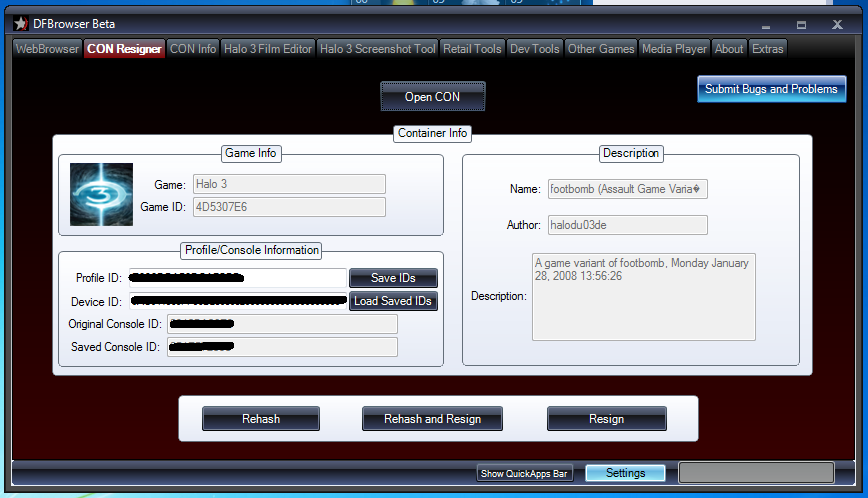
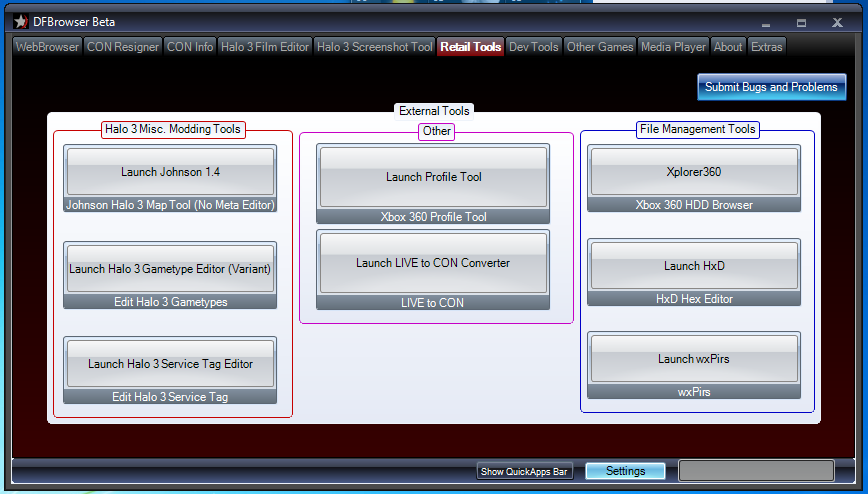
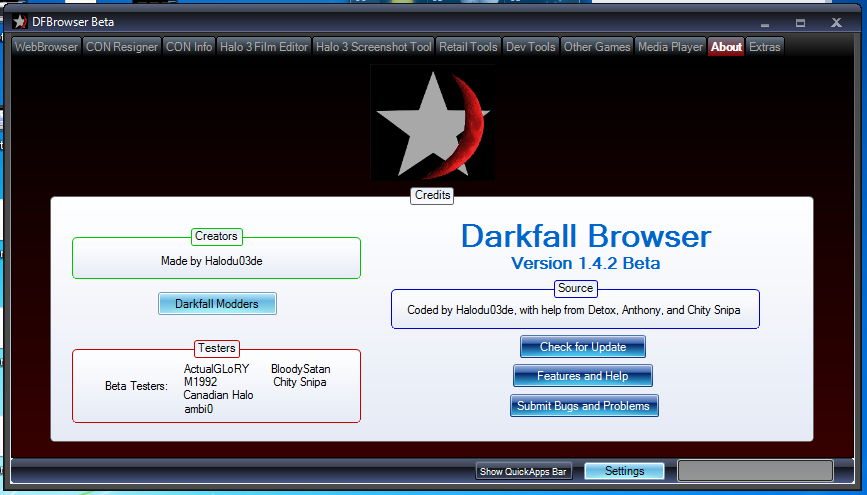
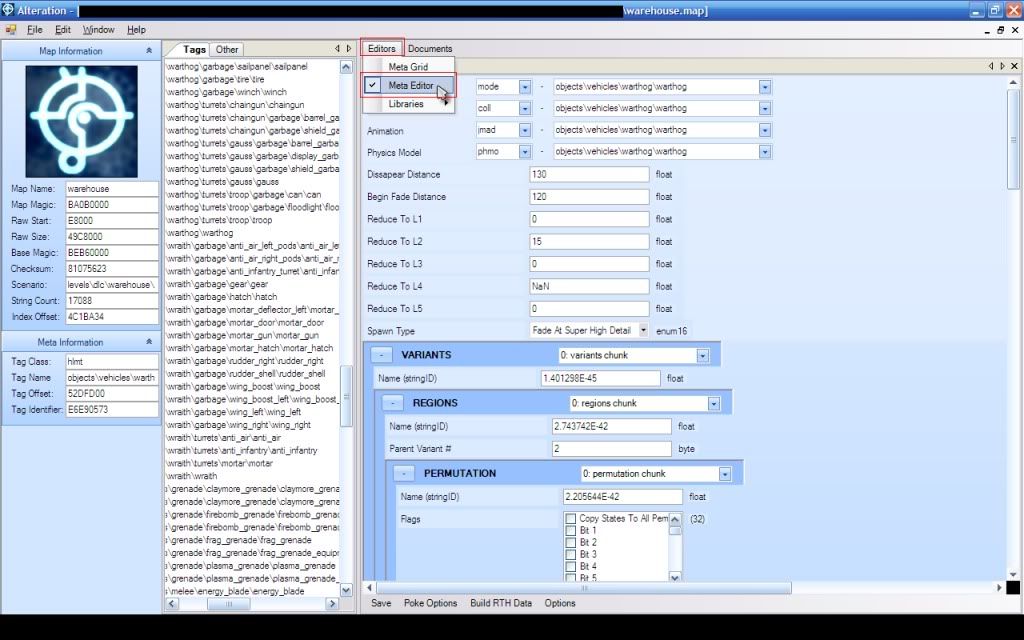
    If you knew who that was, you wouldn't say that. Also, DSS = DarkSlipstream and he recognised the layout of the app to his own stuff.


    Well then we both did it similar ways >_>
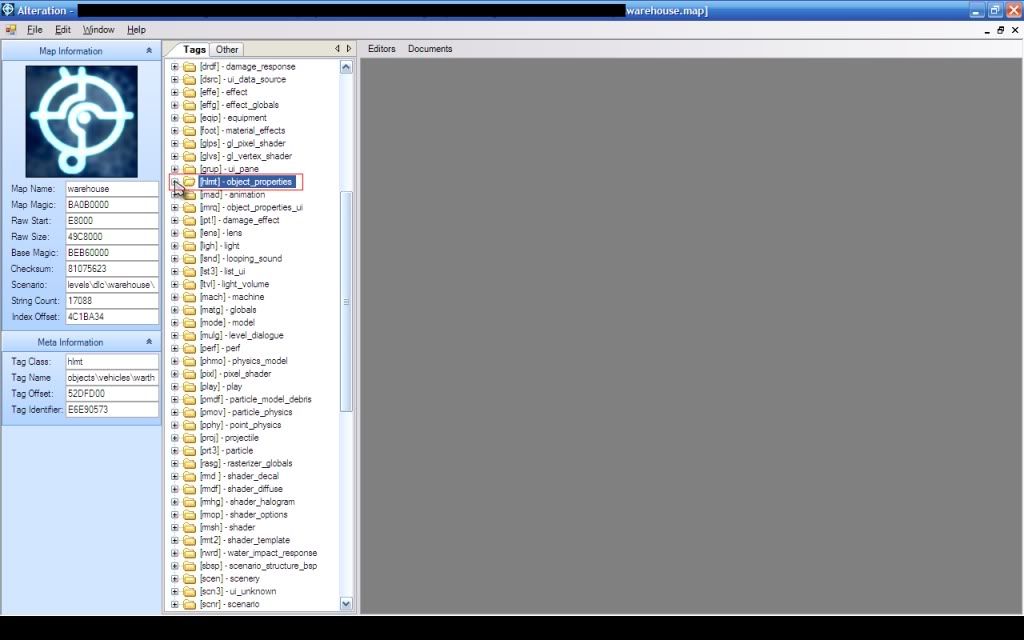
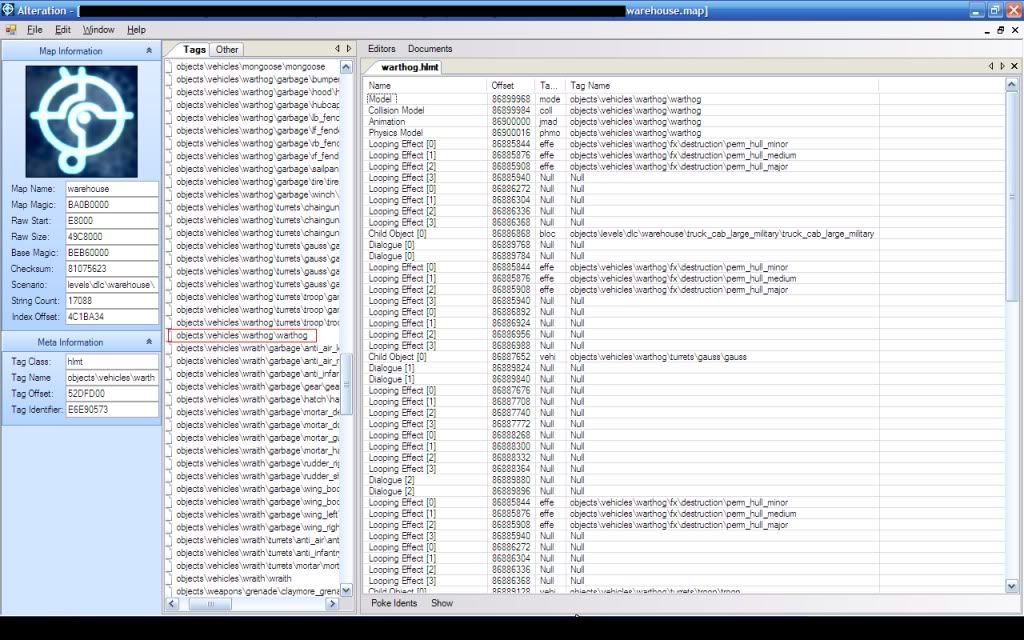
    There arent many ways to do it and i doubt it is close to the same besides binary writer and binary reader.
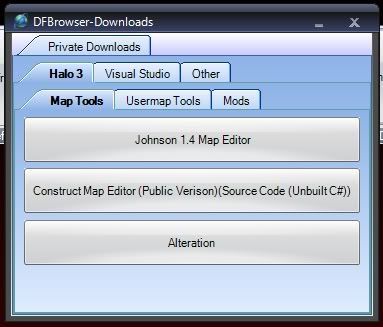
    Idk who it is but at least my first app isnt a stupid webbrowser.

    Edit: Why does everything on this site have to be a flame war. If I say i ******* wrote the code then you should believe me.


    #108290 DarkFallBrowser

    Posted by halodu03de on 22 October 2009 - 06:44 PM

    This is still a beta, but its my first app. Mostly made for my own use just decided to release it. I made about 80% of it.

    DarkFallBrowser(DFB) Multitasking Modding application.
    Made By Halodu03de/Halodu0DSTde.
    Some help with code and learning from Detox/Xenon, Anthony, Chity Snipa, and Dakote.

    Features (Explained in detail later):
    -WebBrowser
    -CON Resigner/Rehasher
    -Container file Info Viewer/Editor
    -Halo 3 Film Editor
    -Halo 3 Screenshot Extractor
    -Retail Tools
    -Dev Tools
    -Other Game Tools
    -Media Player
    -Youtube Auto-Refresher
    -Avatar/Gamercard viewer(stupid i know)
    -Downloads section
    -QuickApps Bar
    -Auto Updates Itself
    -Customization: Ability to hide/show various parts such as the preset links and the tabs, or the whole thing if you're at school, by right-clicking.

    Known Bugs/Problems(2):
    -Rehasher does not work correctly at the moment.
    -Some of the Film Editor's code deleted itself in this build no idea why and I haven't remade it yet.


    Details of features:

    WebBrowser:
    -Tabbed WebBrowsing
    -Links to common Modding sites
    -Custom Bookmarks
    -Standard Webbrowser features

    Posted Image


    CON Resigner:
    -Resign CON Files
    -Rehash CON Files(Not working correctly atm)
    -Change IDs of CON Files
    -Remembers your IDs

    Posted Image


    CON Info Editor:
    -See Information in a CON file
    -Edit Information in the CON file
    -Search for CON files
    -Protect CON files

    Posted Image


    Halo 3 Film Editor:

    Posted Image


    Halo 3 Screenshot Extractor:
    -Extracts up to 8 screenshots at a time and shows previews of them before you extract them.
    -Works with 99% of screenshots and auto-detects format

    Posted Image


    Retail Tools:
    -Misc. helpful tools for people modding games on retail.
    -HxD
    -Johnston
    -Xplorer360
    -wxPirs
    -Halo 3 Gametype Editor
    -Halo 3 Service Tag Editor
    -Profile Tool
    -CONipulator

    Posted Image


    Dev Tools:
    -All tools researched and made by me in Hex Editor Besides last 2
    -MapInfo Editor
    -BLF Image Extractor
    -Mainmenu editor (colors, effects, and camera scripts)
    -Xex Converter
    -X360 Gamehack

    Posted Image

    Posted Image


    Other Game Tools:
    -Valve Editor
    -Gears 2 Editor
    -CoD Tool
    -Resident evil 5 Tool
    -Queen Bee PAK/QB Explorer and editor

    Posted Image


    Auto-Refresher:

    -Gives you more views on YouTUBE

    Posted Image


    Gamercard/Avatar Viewer:

    Posted Image


    Downloads Section:

    -Downloads for All Halo 3 Map Files, some usermap mods, and other stuff.

    Posted Image


    About:

    Posted Image


    It's my first app so don't flame. Constructive criticism and any support from people willing to make it better would be great. My aim is Krt72012 if you want to help with the bugs or make it better.

    Updates:
    1.4 (10/22)
    1.4.1 (10/24)
    1.4.2 (10/25)

    Download(Version 1.4.2 Beta):
    http://rapidshare.co...Final_1.4.2.zip


    #101675 Halo 3 scarub gun

    Posted by halodu03de on 03 August 2009 - 12:47 AM

    Like i said on our MSN chat, i'm English tooo.


    I'll cap too, get 2 people's perspective.


    In more evidence, i was playing with BloodySatan and ActualGlory and GreenSquad. They said it was fake, they were just standing up for halodude. :D . But lets try it anyway. ye?


    LOL

    btw guys why dont you just stop talking about it. you have no life if you continued another topic just to flame me and others more about a gun in halo 3. if its real its real if its not its not, its just a game so just end it. i dont really care, xbox is a hobby not my life. i just got back home so now there are actually things for me to do and people in Real Life to hang with, instead of arguing with some low life modder who tries for whores and gets one knocked up at 14 named rogue who is laughed at by some of the best modders(which doesnt matter yet again because this is just the internet). have a good life, i dont care who wins, im not letting my xbox become addicting like a drug. go hang with some people in real life. try doing "sports" i know its hard for you to do rogue but you can try. im not checking back here so dont bother wasting your life rogue, well, since you dont have one i guess you can make a comeback at me with some other ppl from the internet watching. idc so bye.


    #101398 Disproving the Scarb gun video.

    Posted by halodu03de on 31 July 2009 - 08:57 PM

    It is a variant... If there is a normal assault rifle and a modded assault rifle in the map then how would there not be variants? Your scarab gun does not exist. There are many factors to prove this. You out of everyone playing halo 3 for 2 years being the ONLY one to find this? You being one of the people that abuse there xdk and flaunts them-self at any chance possible? The only reason you are defending this is because you want to have a reason to continue flaunting yourself. k? k! k.


    because it changes, its a regular one when it is spawned. Also, the AR was found recently, i just used my dev to go in, check out if its real, and then go on my retail and figure it out with glory. i dont take credit for finding it because i used my dev for part of it. So whoever gets to it first will be the one to prove it.

    Also, prove all these facts wrong plz:
    http://www.youtube.c...h?v=0QO8FAjuMvA


    #101393 Disproving the Scarb gun video.

    Posted by halodu03de on 31 July 2009 - 08:44 PM

    there is so assault rifle variant in the .map file that contains such properties. The gun doesn't exist in the tag system or on the single player shared. You fail. No matter how many walls of text you post, you are wrong, you are flaunting yourself, you need to shut up and admit how wrong you are.


    Its not a variant and please tell me how the hell i did it if you and a few others think i modded it. please tell me. do i need to take video of me doing it with glory and then go to my friends list and go back or what. i dont know any other way to prove it.


    #98783 Tutorial: How to make almost anything drivable

    Posted by halodu03de on 11 July 2009 - 07:44 PM

    Tutorial: How to make almost anything drivable using .Map mods in Halo 3
    By Halodu03de/Halodu0DSTde

    Things needed to make it:
    -.Map file of the map you want to edit from http://secure.xboxga...=category&id=19
    (In this tutorial, we will be using the map Warehouse.map(aka Foundry))
    -.Map file editor
    1. Alteration-Download: http://xenon7.net/fi...ration_0052.rar
    (This tutorial uses Alteration, which I recommend over construct.)


    Things needed to play it:
    -A Developers kit(Dev, Stress Test Dev, Demo, Test, or Reviewers kit)
    -Xbox 360 Neighborhood
    -Halo 3 Xex 1.0 or 1.2 with checks disabled
    -Some other basic knowledge


    1. Open the map file in Alteration and in the list of tags, expand the HLMT tag (This is the object properties).

    Posted Image


    2. Find where it says "objects\vehicles\warthog\warthog" and click on it to open it up.

    Posted Image


    3. At the top of the screen right above where it says "warthog.hlmt" click on 'Editors' and select 'Meta Editor'.

    Posted Image


    4. Now, scroll down until you find where it says 'OBJECTS' in Bold. And right under that, where it says 'Child

    Object'. This is where the turret is attached to the warthog.

    Posted Image


    5. Change it to whatever you want to be driving, I am going to change it to a truck, for example. (you can change it

    to anything within the following tags: Scen, Vehi, Weap, Bloc, Dctr, Eqip, Mach, Gint and a few more. So I would

    change where it has the dropdown box that says 'Vehi' which is the vehicle tag, to 'Bloc' which is the obstacles tag.

    Then I would look around in it until I found the Truck

    "objects\levels\dlc\warehouse\truck_cab_large_military\truck_cab_large_military" and change it to that.

    Posted Image

    Posted Image


    6. Now, Click the 'Save' button at the bottom. ONCE YOU HAVE GOTTEN TO THIS POINT, YOU CAN ONLY FINISH THE VEHICLE IF

    YOU HAVE A DEVELOPERS KIT TO TEST IT ON, OR ARE MAKING THE SAME VEHICLE AS WE ARE IN THIS TUTORIAL(a drivable truck

    on Foundry). Under 'OBJECTS' again, where it says 'Parent Marker', copy the number in the box (For example, the one I

    copied is "3.812933E-42", but it is different for every map) to your clipboard (Highlight it and Hold down the 'CTRL'

    button and click 'C').

    Posted Image


    7. Now in the tag list on the left again, expand the 'Mode' tag (This is the Model). Find where it says

    "objects\vehicles\warthog\warthog" and click on it. Next, like we did in step 3, Click on 'Editors' right above

    'Warthog.mode' and select 'Meta Editor'.

    Posted Image


    8. Scroll Down to where it says 'MARKERS' in Bold. Next to 'MARKERS' it says '0: markers chunk', click on the drop

    down box twice so that '0: markers chunk' is selected in Gold color, but not expanded, and click the down arrow

    button to scroll through the chunks (1, 2, 3, etc.) until the number in the box where it says 'Marker Name(SID)'

    matches the number you copied to your clipboard EXACTLY (to confirm the number, highlight the number in the 'Marker

    Name(SID)' box that you think matches the number on your clipboard, and Hold down CTRL and click 'V'. If the number

    doesn't change, you have the right one.) In my example, the chunk is '70: markers chunk' which has the number

    '3.812933E-42'.

    Posted Image


    9. Now, right under where it says 'MARKERS', it says 'INSTANCES' in Bold. This is where the coordinates and rotations

    of the warthog's child object(s) are controlled.

    Posted Image


    10. Using real time halo, or just testing the map over and over again on your developers kit, you need to adjust

    these coordinates and rotations to make the vehicle aim in the perfect direction. For the truck, the correct

    coordinates and rotations are as follows:

    Coordinates:

    X: 0
    Y: 0
    Z: 0.017

    Rotations:

    i: 0
    j: 0
    k: 1

    Posted Image


    11. Now, Save your changes at the bottom again. Since we have the truck facing the right direction, and at the

    perfect height, we need to make the warthog invisible so that all we can see is the truck. In the same tag that we

    have been in (warthog.mode), under 'INSTANCES' in Bold it says 'SHADERS'. Now for Each chunk '0: shaders chunk'

    through '13:shaders chunk'(14 chunks total), we need to change the tag in the LONG dropdown box to <<NULL>> which is

    at the bottom of the list in the LONG dropdown box, So that for all 14 shaders chunks, the LONG dropdown box says

    <<NULL>>. Make sure to click Save each time you change one of the boxes in each shaders chunk to <<NULL>>, so you

    will end up clicking save 14 times here.

    Posted Image

    Posted Image


    12. Now that we have nulled out the shaders we are almost done. The last things we need to change are the

    attachments, widgets, and seating position for when you get into the warthog/truck. In the tag list on the left, go

    down until you find the 'Vehi' tag which is Vehicle. Find where it says "objects\vehicles\warthog\warthog", and again

    at the top click 'Editors' and select 'Meta Editor'.

    Posted Image


    13. Scroll down until you find 'ATTACHMENTS' in Bold. Now under 'ATTACHMENTS', where it says 'Attachment', just like

    for shaders, go through each attachments chunk (0 though 5) and change the LONG dropdown box in each to <<NULL>>, and

    make sure again to hit save for each one. You will end up changing the LONG box to <<NULL>> 6 times and clicking save

    6 times.

    Posted Image


    14. Right under 'ATTACHMENTS', Where it says 'WIDGETS' in Bold, change

    "objects\vehicles\warthog\attachments\warthog_antenna" to <<NULL>> and click Save.

    Posted Image


    15. This step is optional, but I highly recommend it to make it look complete. If you want, you can change the camera

    distance from the vehicle for a more broad view of your vehicle while driving. To do this, While still in the

    warthog.vehi tag, Find where it says 'CAMERA TRACKS' in Bold and where it says Track right underneath, choose a

    different Track (Camera track) from the LONG dropdown box. For the truck I recommend "camera\board_large_camera".

    Posted Image


    16. Now the last part, seating. In the same tag (warthog.vehi), scroll down to where it says 'SEATS' in Bold. Like we

    did in step 6, copy the 'Sitting Position Marker' to your clipboard (For example, the one I copied is "2.729729E-42",

    but it is different for every map).

    Posted Image


    17. Now in the tag list on the left again, expand the 'Mode' tag. Find where it says

    "objects\vehicles\warthog\warthog" and click on it. Next, like we did in step 3, Click on 'Editors' right above

    'Warthog.mode' and select 'Meta Editor'.

    Posted Image


    18. Scroll Down to where it says 'MARKERS' in Bold. Next to 'MARKERS' it says '0: markers chunk', click on the drop

    down box twice so that '0: markers chunk' is selected in Gold color, but not expanded, and click the down arrow

    button to scroll through the chunks (1, 2, 3, etc.) until the number in the box where it says 'Marker Name(SID)'

    matches the number you copied to your clipboard EXACTLY (to confirm the number, highlight the number in the 'Marker

    Name(SID)' box that you think matches the number on your clipboard, and Hold down CTRL and click 'V'. If the number

    doesn't change, you have the right one.) In my example, the chunk is '3: markers chunk' which has the number

    '2.729729E-42'.


    19. Using real time halo, or just testing the map over and over again on your developers kit, you need to adjust

    these coordinates and rotations to make your character sit in the perfect position when it gets inside the vehicle.

    For the truck, the correct coordinates and rotations are as follows:

    Coordinates:

    X: 0.67
    Y: 0.28
    Z: 0.576

    Rotations:

    i: -0.1
    j: 8E-10
    k: -1.5E-08


    20. Now click Save and you're done!

    Posted Image


    Thanks to DarkShallFall and Detox for the research and program.


    #98443 Official Halo 3 Research Thread :)

    Posted by halodu03de on 09 July 2009 - 10:37 AM

    because its a boat


    but he didnt make it bungie did, its not even in the water, and the seating doesnt even look right.