
The Complete Halo 3 Modding Tutorial (Part 1 of 5)
Written by iBotPeaches of iBotModz.net
What we are covering in this session
Today we will be cover ripping Halo 3 to your computer so you may use the .MAP files and image files which other sites cannot provide. It will require lots of things. For people saying "omg wtf, this ain't no tutorial for h3" If you actually modded and didn't sniff off every thing like XSATA and resigners then this is what you have to do. Most people go beyond this, but this is the lowest you can go. Halo 2 required a raw dump to get clean maps. So this is the tutorial built for Halo 3. Written by iBotPeaches of iBotModz.net
Requirements
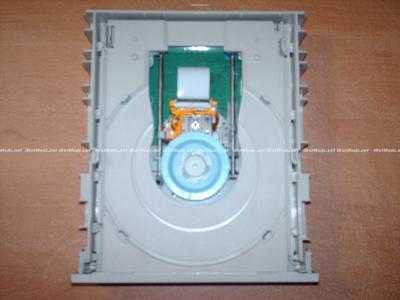
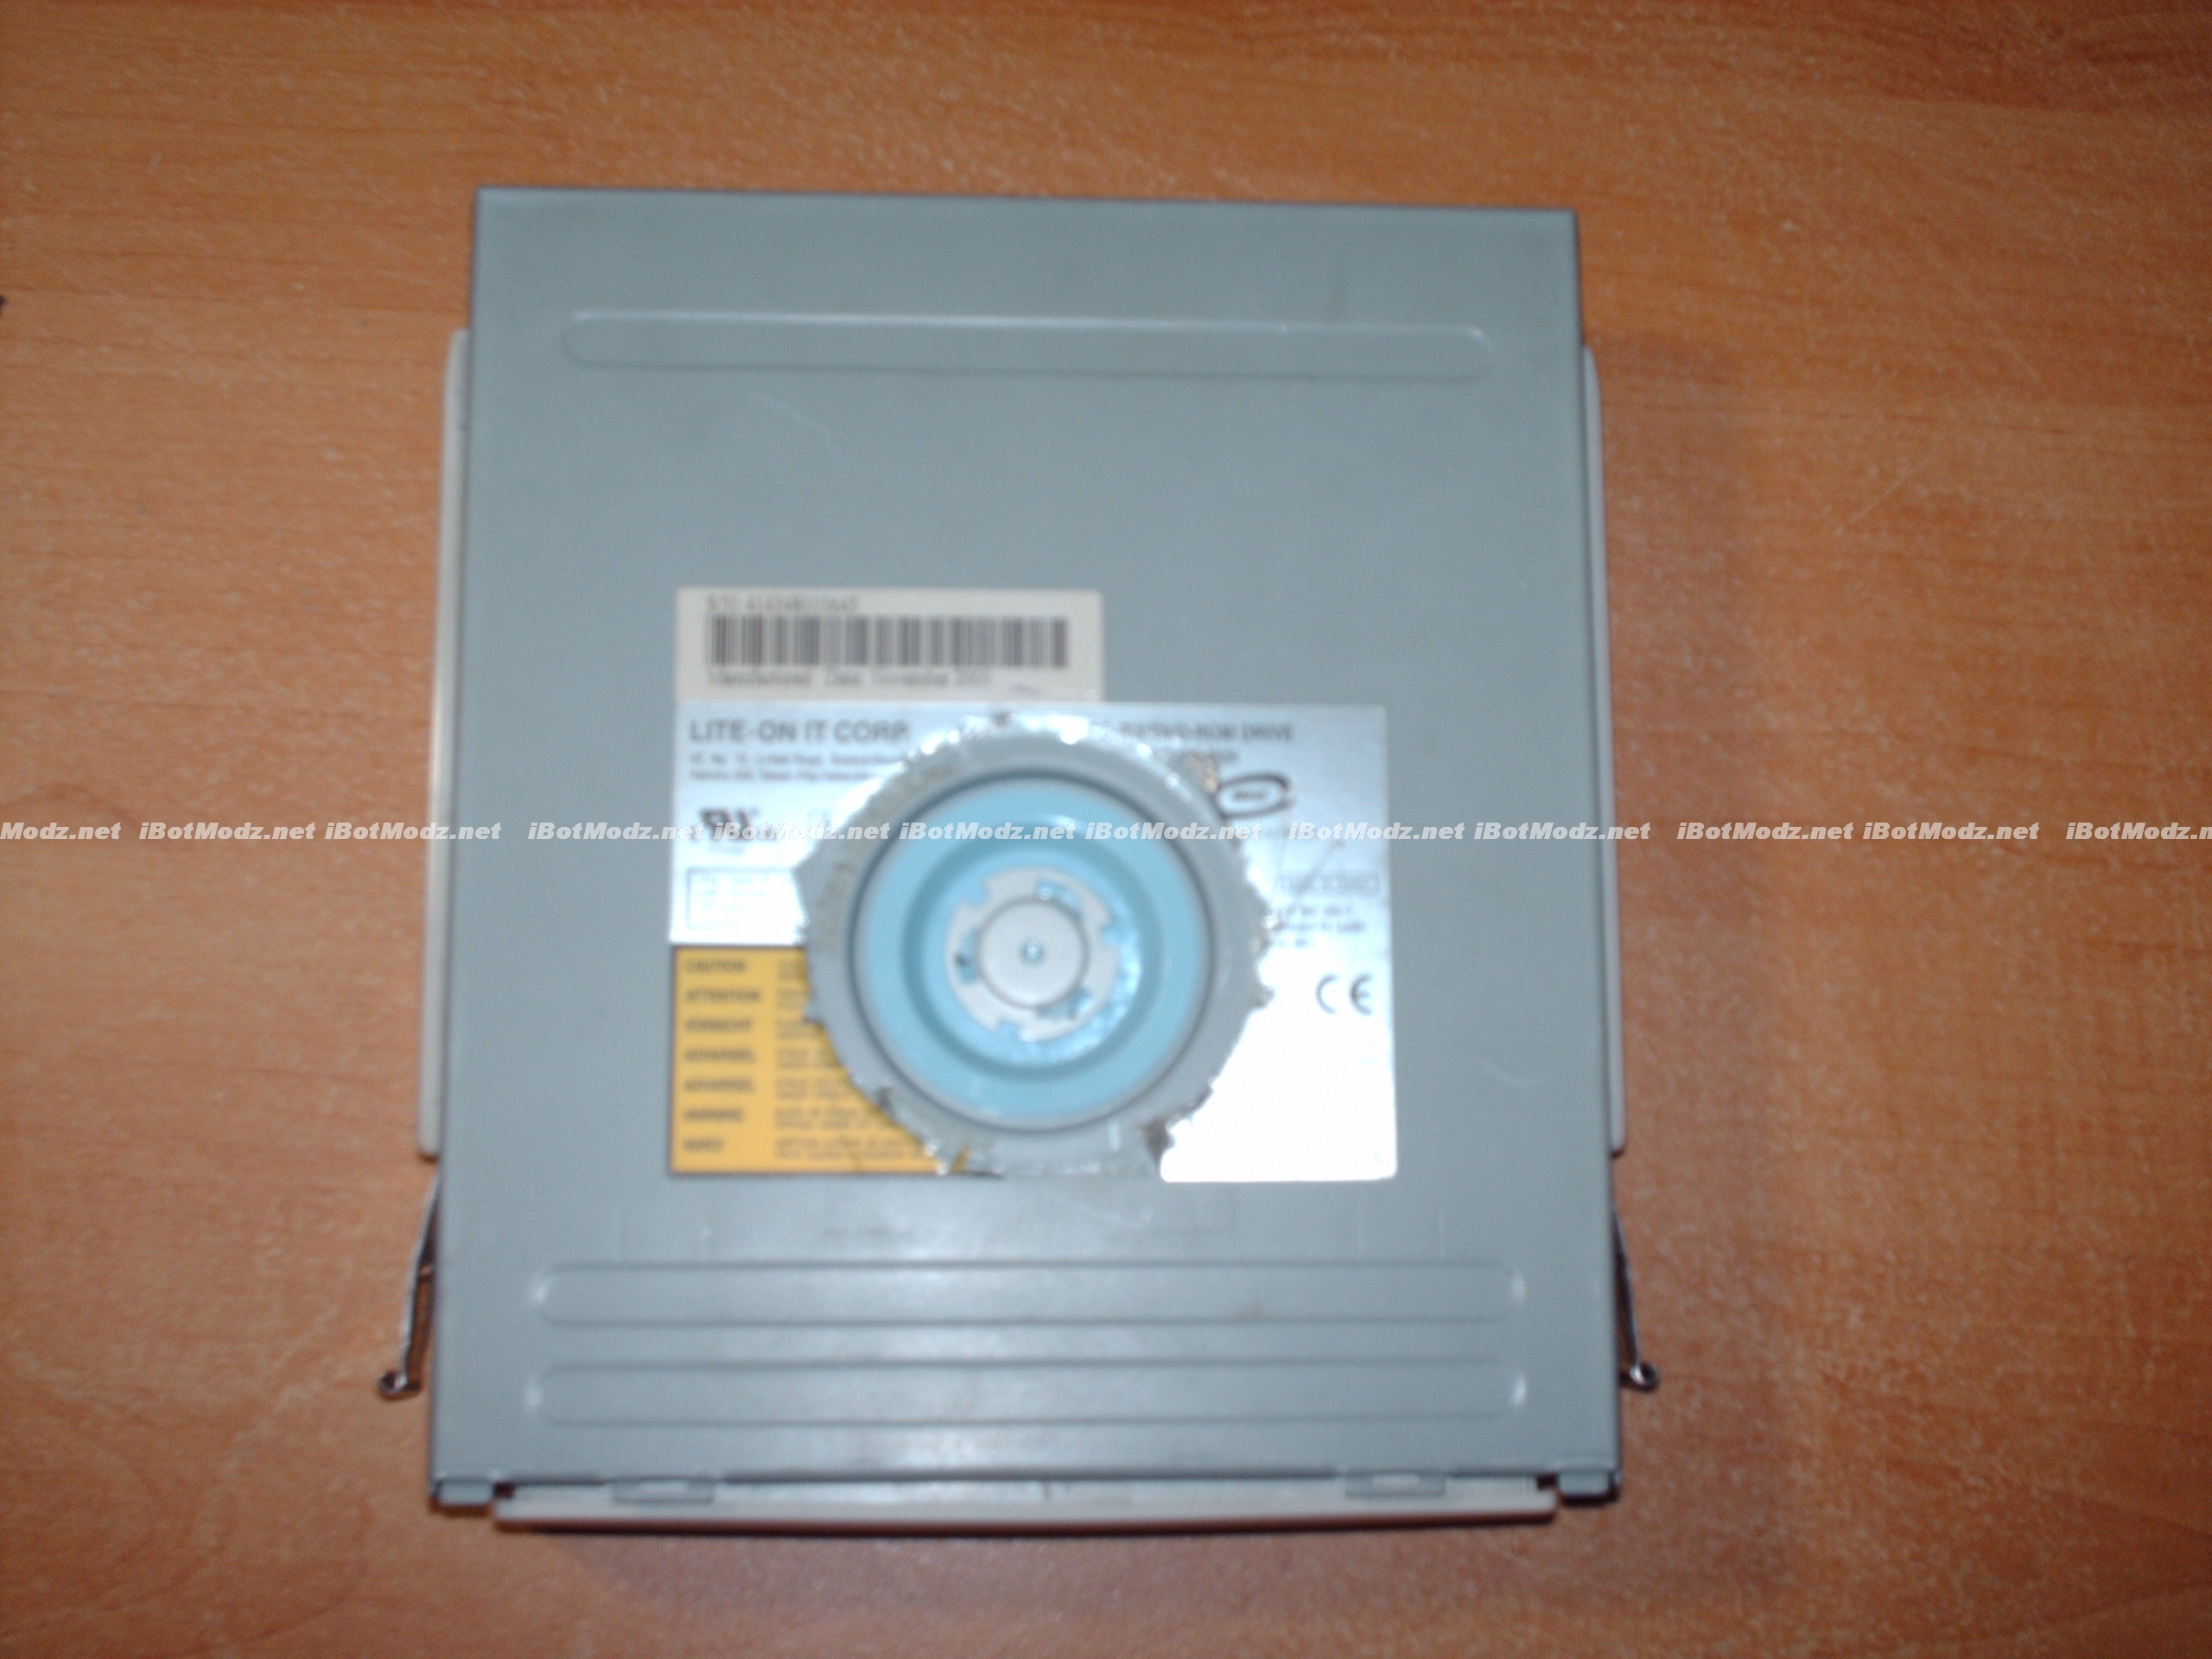
Here we have a normal CD Drive (DVD Drive if you want, but CD will work and is better to use just in case you break it) , with the sticker removed around the plastic piece that holds a disc in place

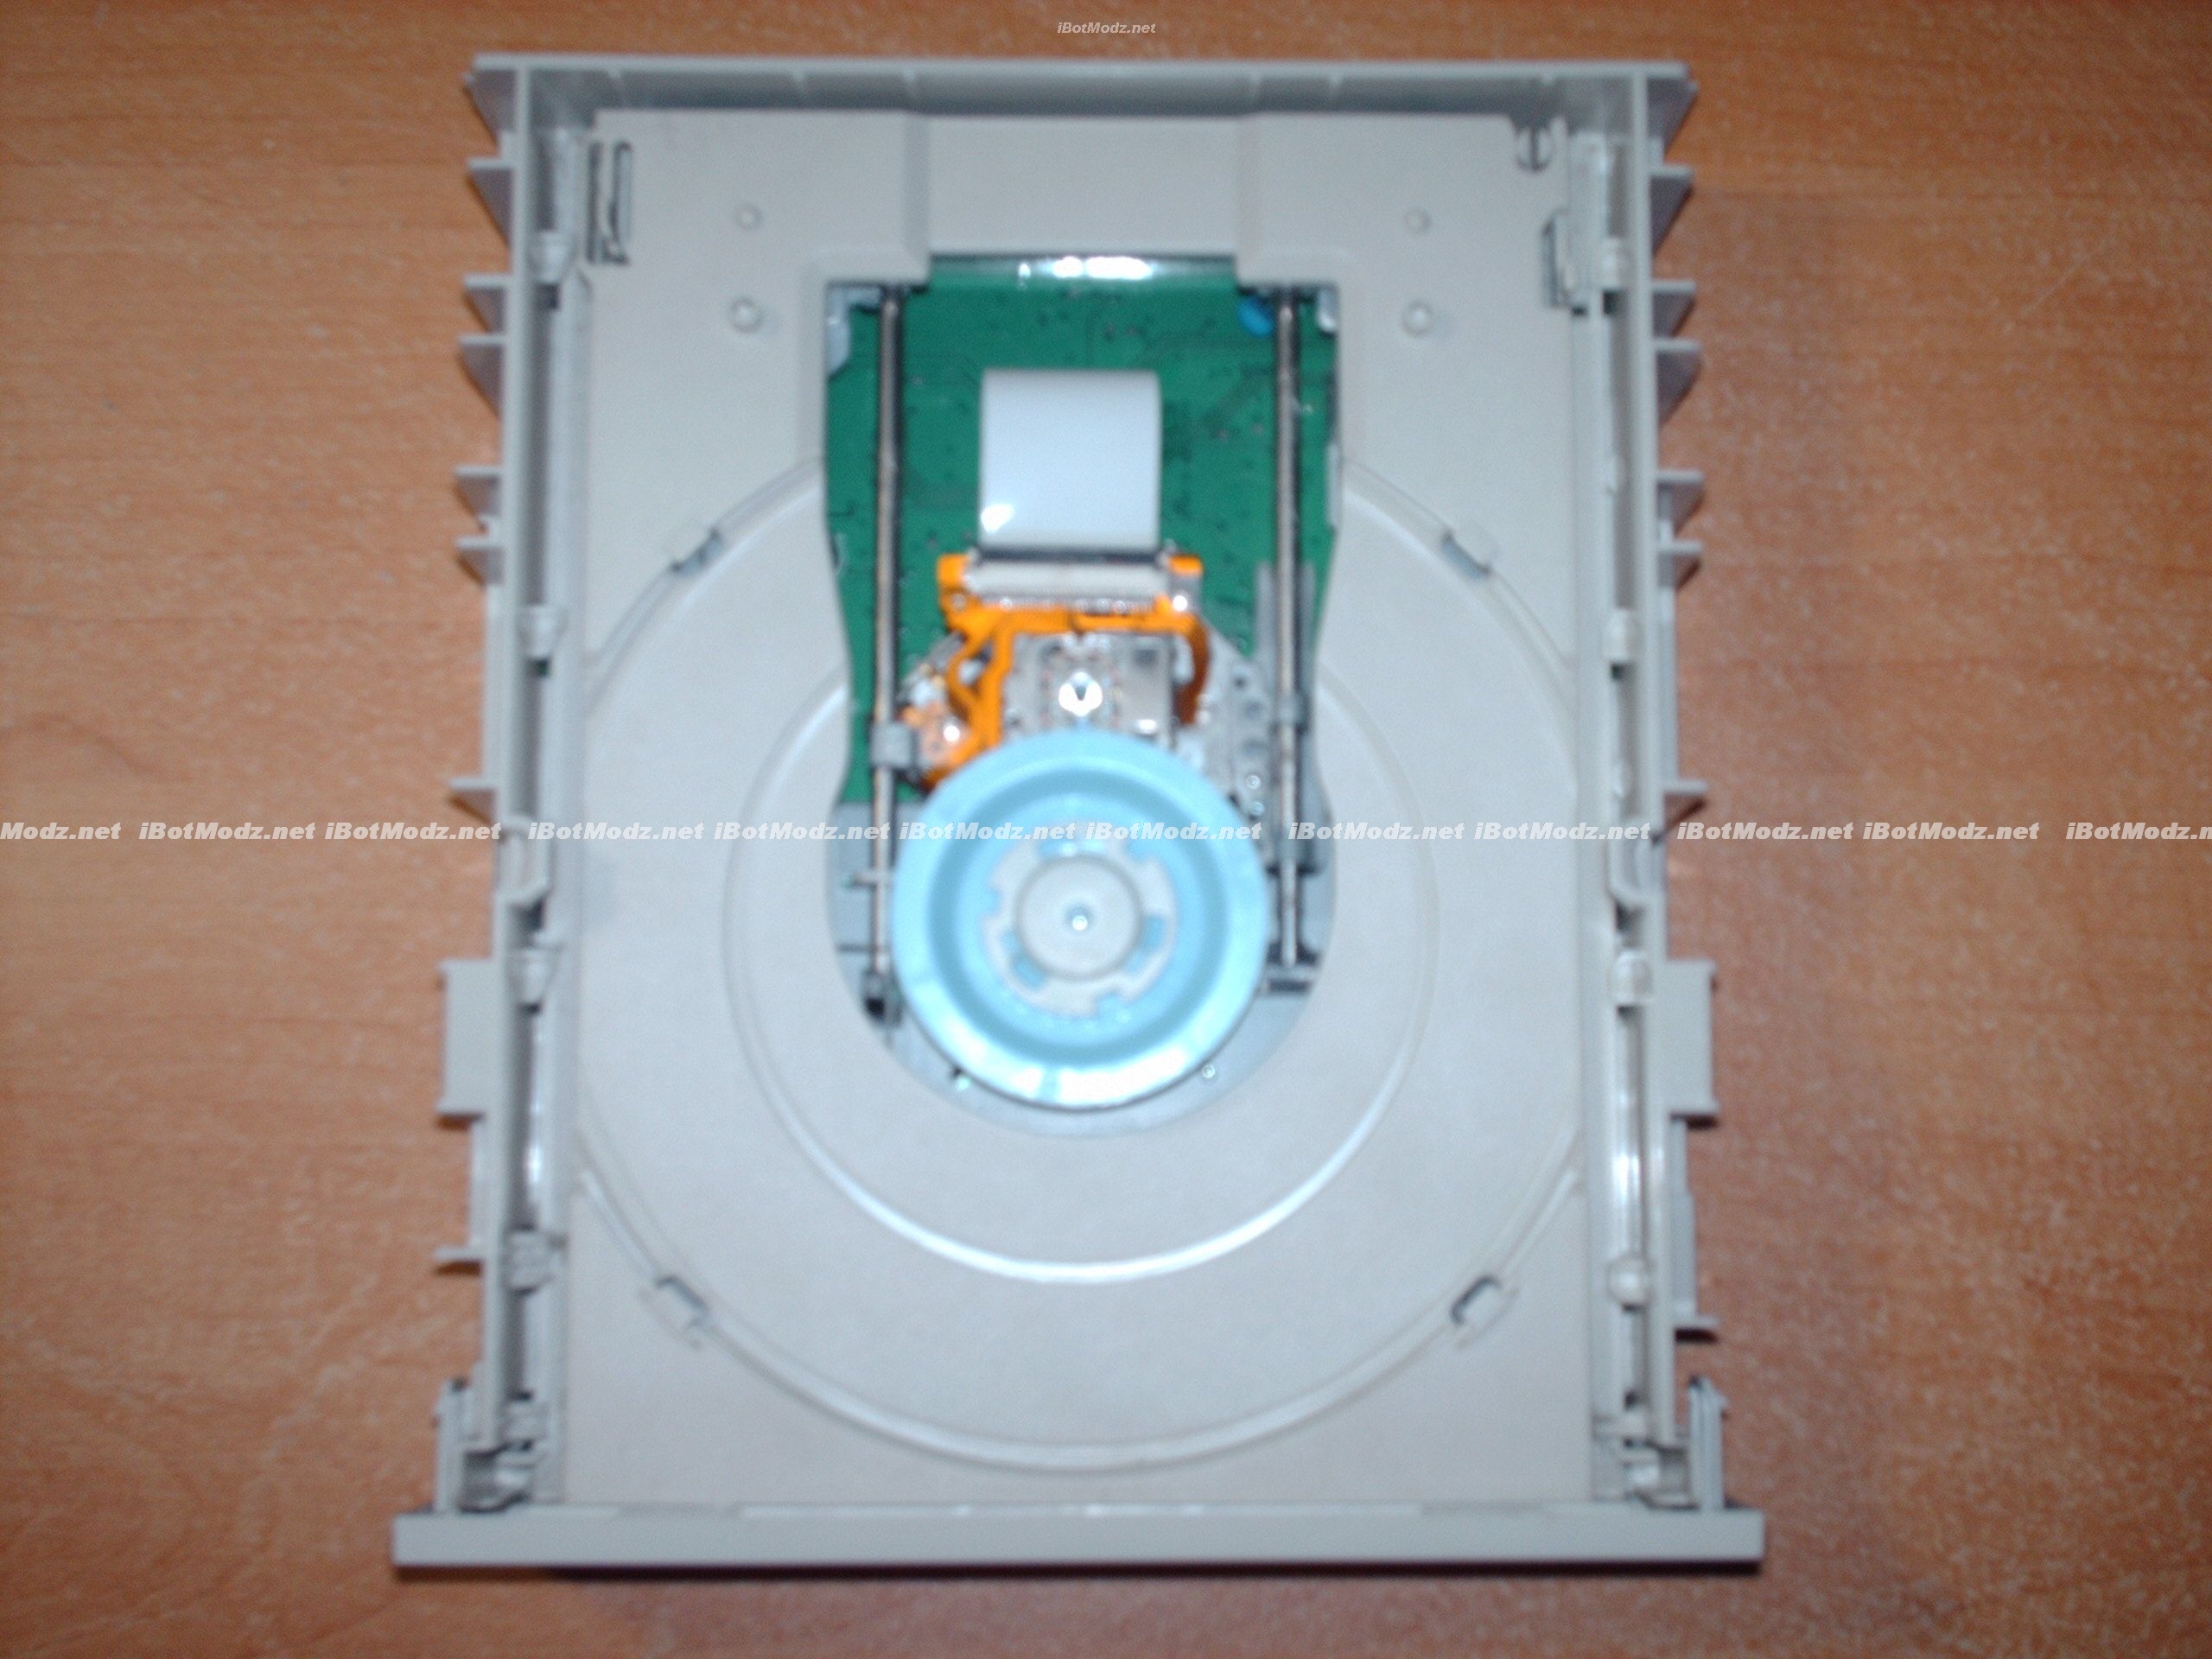
After you've sliced or cut your sticker around your plastic piece its time to take apart the drive. All driver are different, and all you need is some screwdrivers to remove the case. I've already done it, and try to match your drive closest to the below picture. Notice how there is only the blue thing, so you can "hot swap" it.
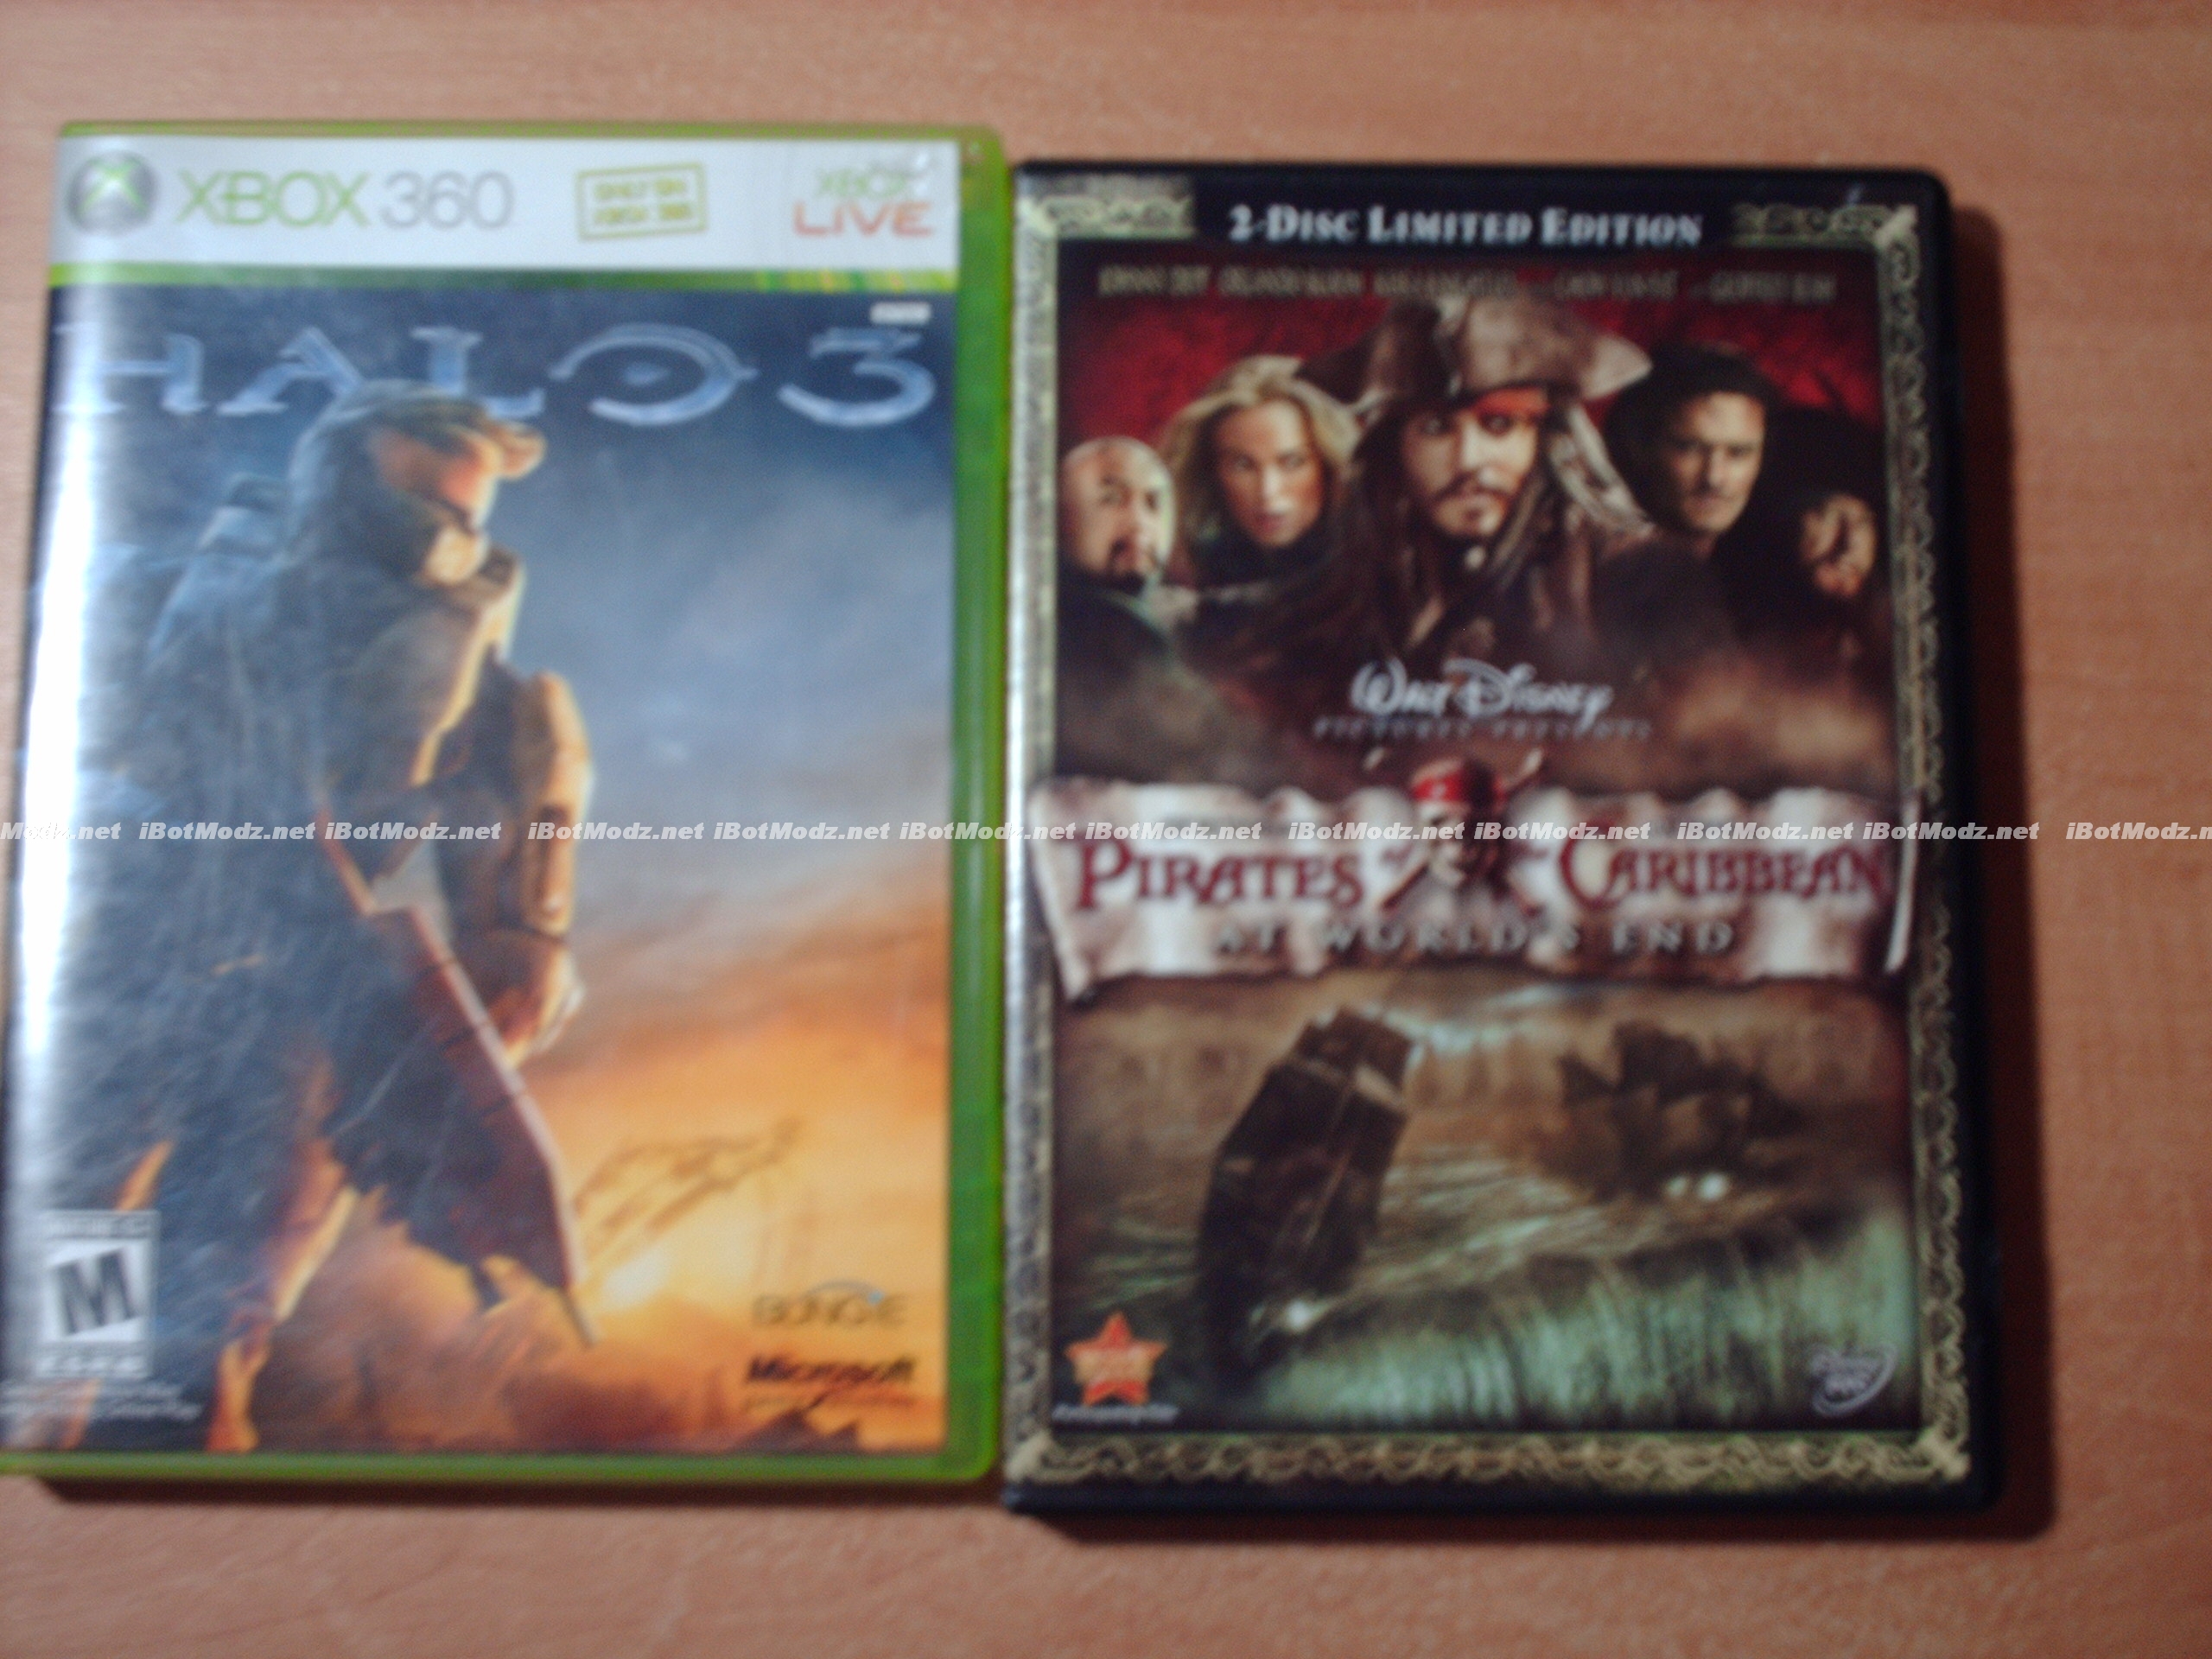
Now you must find a DVD that is longer than 140 minutes. So that will make it larger than 8gb. I'm using Pirates of the Caribbean 3. Any movie newer than 2006 however has better protection and cannot be burned using this method.

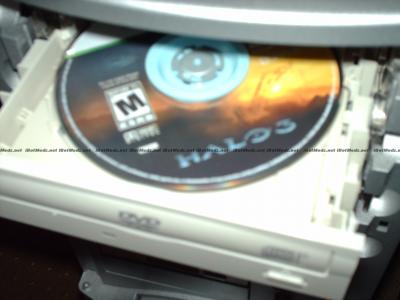
This next part is confusing and will require you to pay attention and follow it exactly. Otherwise you will get a failed raw dump. Your job is to successfully get the movie (Pirates) spinning around on the disc in the "hot-swapped" disc drive. Like so.
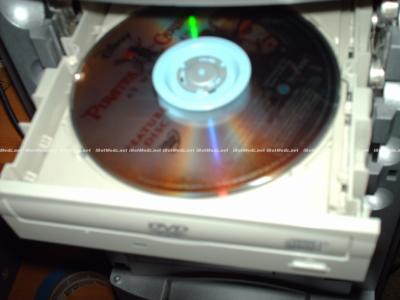
(Its spinning around in Real Life, my camera shutter speed is fast enough to catch it, even though its moving. Our frame rate as a human is too slow, so its moving, but for the camera picture its not)
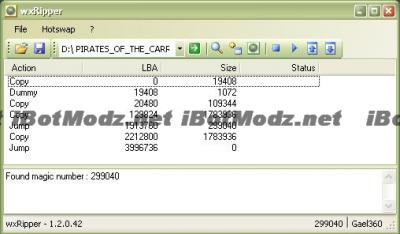
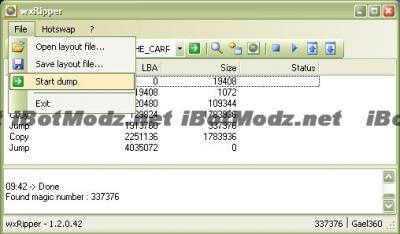
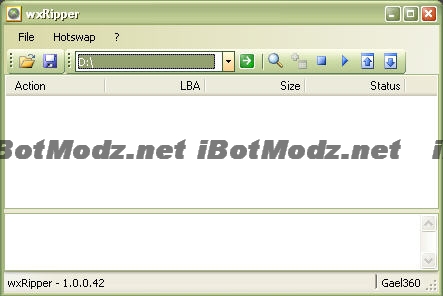
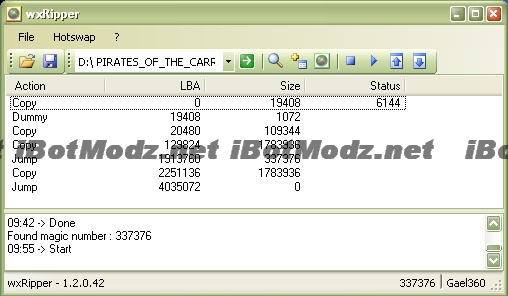
Now load up wxRipper (Download at bottom)

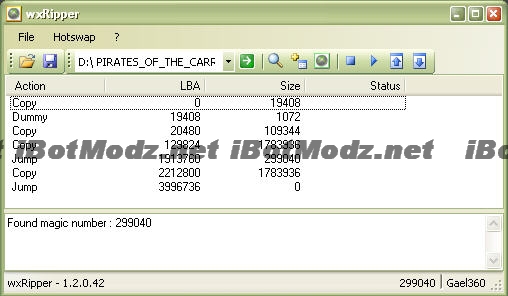
Click that Magnifying Glass on the right of the green arrow. This will load up the DVD and make sure it loads. If it does you will be greeted like this. It will say "done" in the log box and show tons of numbers.
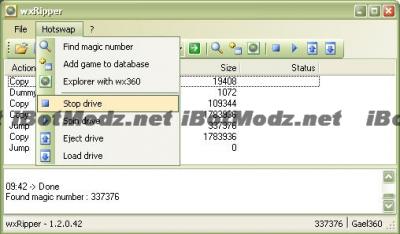
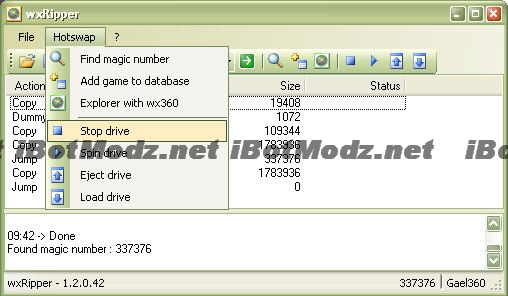
Now for the hotswap. Click "Stop Drive" under the HotSwap menu. That should slow the DVD down to a stop.
Now you can remove the little blue thing, remove the DVD and neatly and carefully place Halo 3 on the disc drive and place the blue thing back on top.
Go back to wxRipper, and go back to the HotSwap menu and select "Spin Drive"
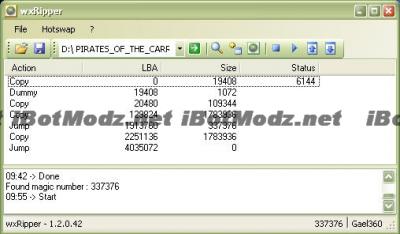
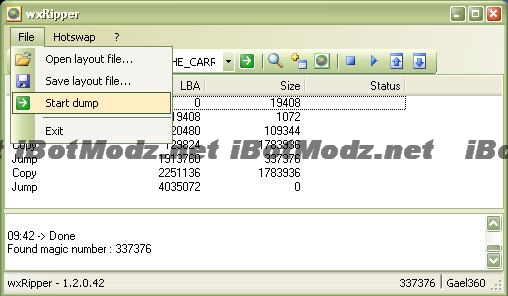
Now Halo 3 should spin up and you now have "tricked" the system into thinking its burning a DVD. Go to "File" "Start Dump" and begin the RAW DUMP transfer. It may ask you to name your ISO, save it to your desktop and call it "Halo3.iso" This is temporary till we extract it.
This is the start of it. It counts the file size up on the far left till it reaches the full size. I took a picture fairly early so it has awhile to go.
Go grab a drink, and sit down this takes a good 20 minutes. I was gone during this tutorial, so I did not get a picture, and too lazy to burn another copy just to get a picture. It says complete and you now have a Halo3.iso on your desktop.

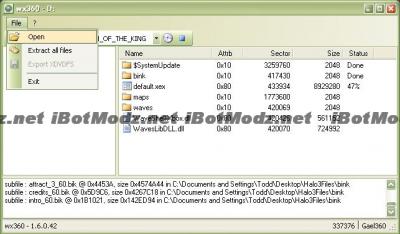
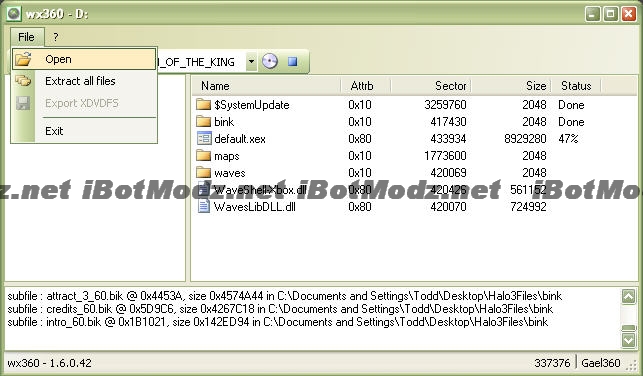
With this image, lets open wx360. Which comes in the same folder as wxRipper. Once you load up wx360. Go to "File" "Open"
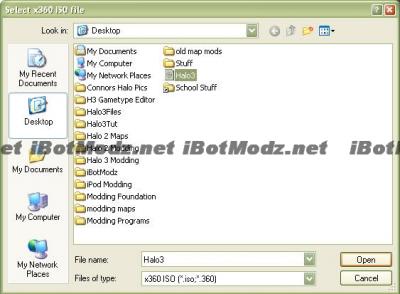
Now browse into your desktop and select Halo3.iso
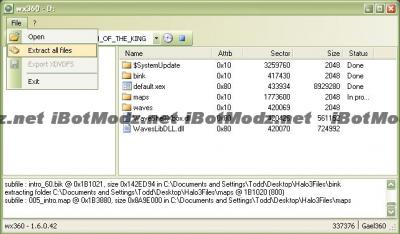
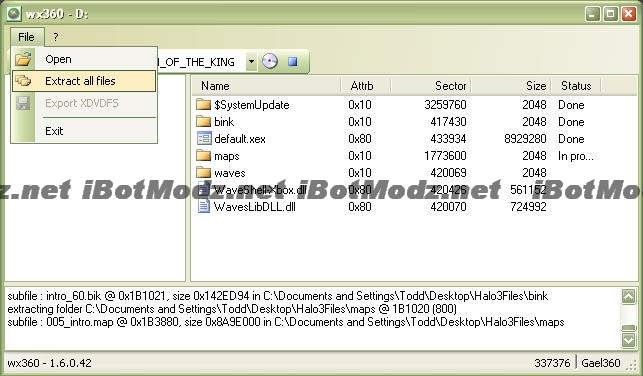
Like a miracle, all the files load up into a English language that you can read. Go up to "File" "Extract All Files"
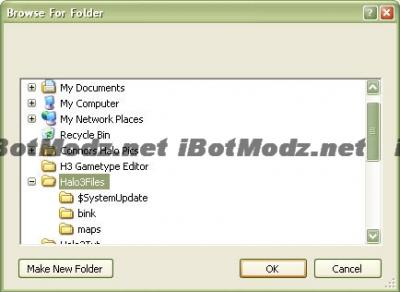
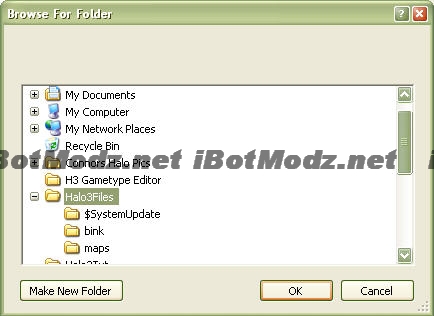
Now it will ask you to save it somewhere. I save my stuff on my desktop. so I named it "Halo 3 Files" and saved it there.
Then you watch and wait as it takes about 40 minutes to convert raw .ISO material into usable files.Watch the log on the bottom of the program as it displays the current file being transferred and its fun to watch. The code below is an example of what is shown in the box.
You now have all the Halo 3 raw files on your computer!
Next Tutorial features....
Q: I get this error.
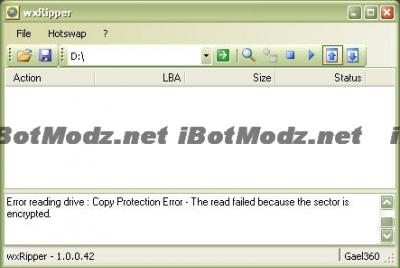
A: You need to get a bigger disc that's not 8gb. Or you when you put in the DVD you took too long and the disc stopped spinning. You always need to disc spinning, until you stop it.
This was written 100% by iBotPeaches of iBotModz.net. All images and words were written by him. No images were taken, and nothing but the glossary was from 3rd party sites. Part 2 will come very soon. This tutorial is only authorized on iBotModz.net and iBotModz Affiliate sites. If you see this elsewhere. Please contact iBotPeaches.
Written by iBotPeaches of iBotModz.net
What we are covering in this session
Today we will be cover ripping Halo 3 to your computer so you may use the .MAP files and image files which other sites cannot provide. It will require lots of things. For people saying "omg wtf, this ain't no tutorial for h3" If you actually modded and didn't sniff off every thing like XSATA and resigners then this is what you have to do. Most people go beyond this, but this is the lowest you can go. Halo 2 required a raw dump to get clean maps. So this is the tutorial built for Halo 3. Written by iBotPeaches of iBotModz.net
Requirements
- CD Disc Drive
- wxRipper (Ripping Halo 3)
- wx360 (De-compiling the direct Halo 3 dump into files)
- Halo 3
- Phillips and Flathead screwdrivers
- Movie larger than 8gb
- Patience
Here we have a normal CD Drive (DVD Drive if you want, but CD will work and is better to use just in case you break it) , with the sticker removed around the plastic piece that holds a disc in place
After you've sliced or cut your sticker around your plastic piece its time to take apart the drive. All driver are different, and all you need is some screwdrivers to remove the case. I've already done it, and try to match your drive closest to the below picture. Notice how there is only the blue thing, so you can "hot swap" it.
Now you must find a DVD that is longer than 140 minutes. So that will make it larger than 8gb. I'm using Pirates of the Caribbean 3. Any movie newer than 2006 however has better protection and cannot be burned using this method.
This next part is confusing and will require you to pay attention and follow it exactly. Otherwise you will get a failed raw dump. Your job is to successfully get the movie (Pirates) spinning around on the disc in the "hot-swapped" disc drive. Like so.
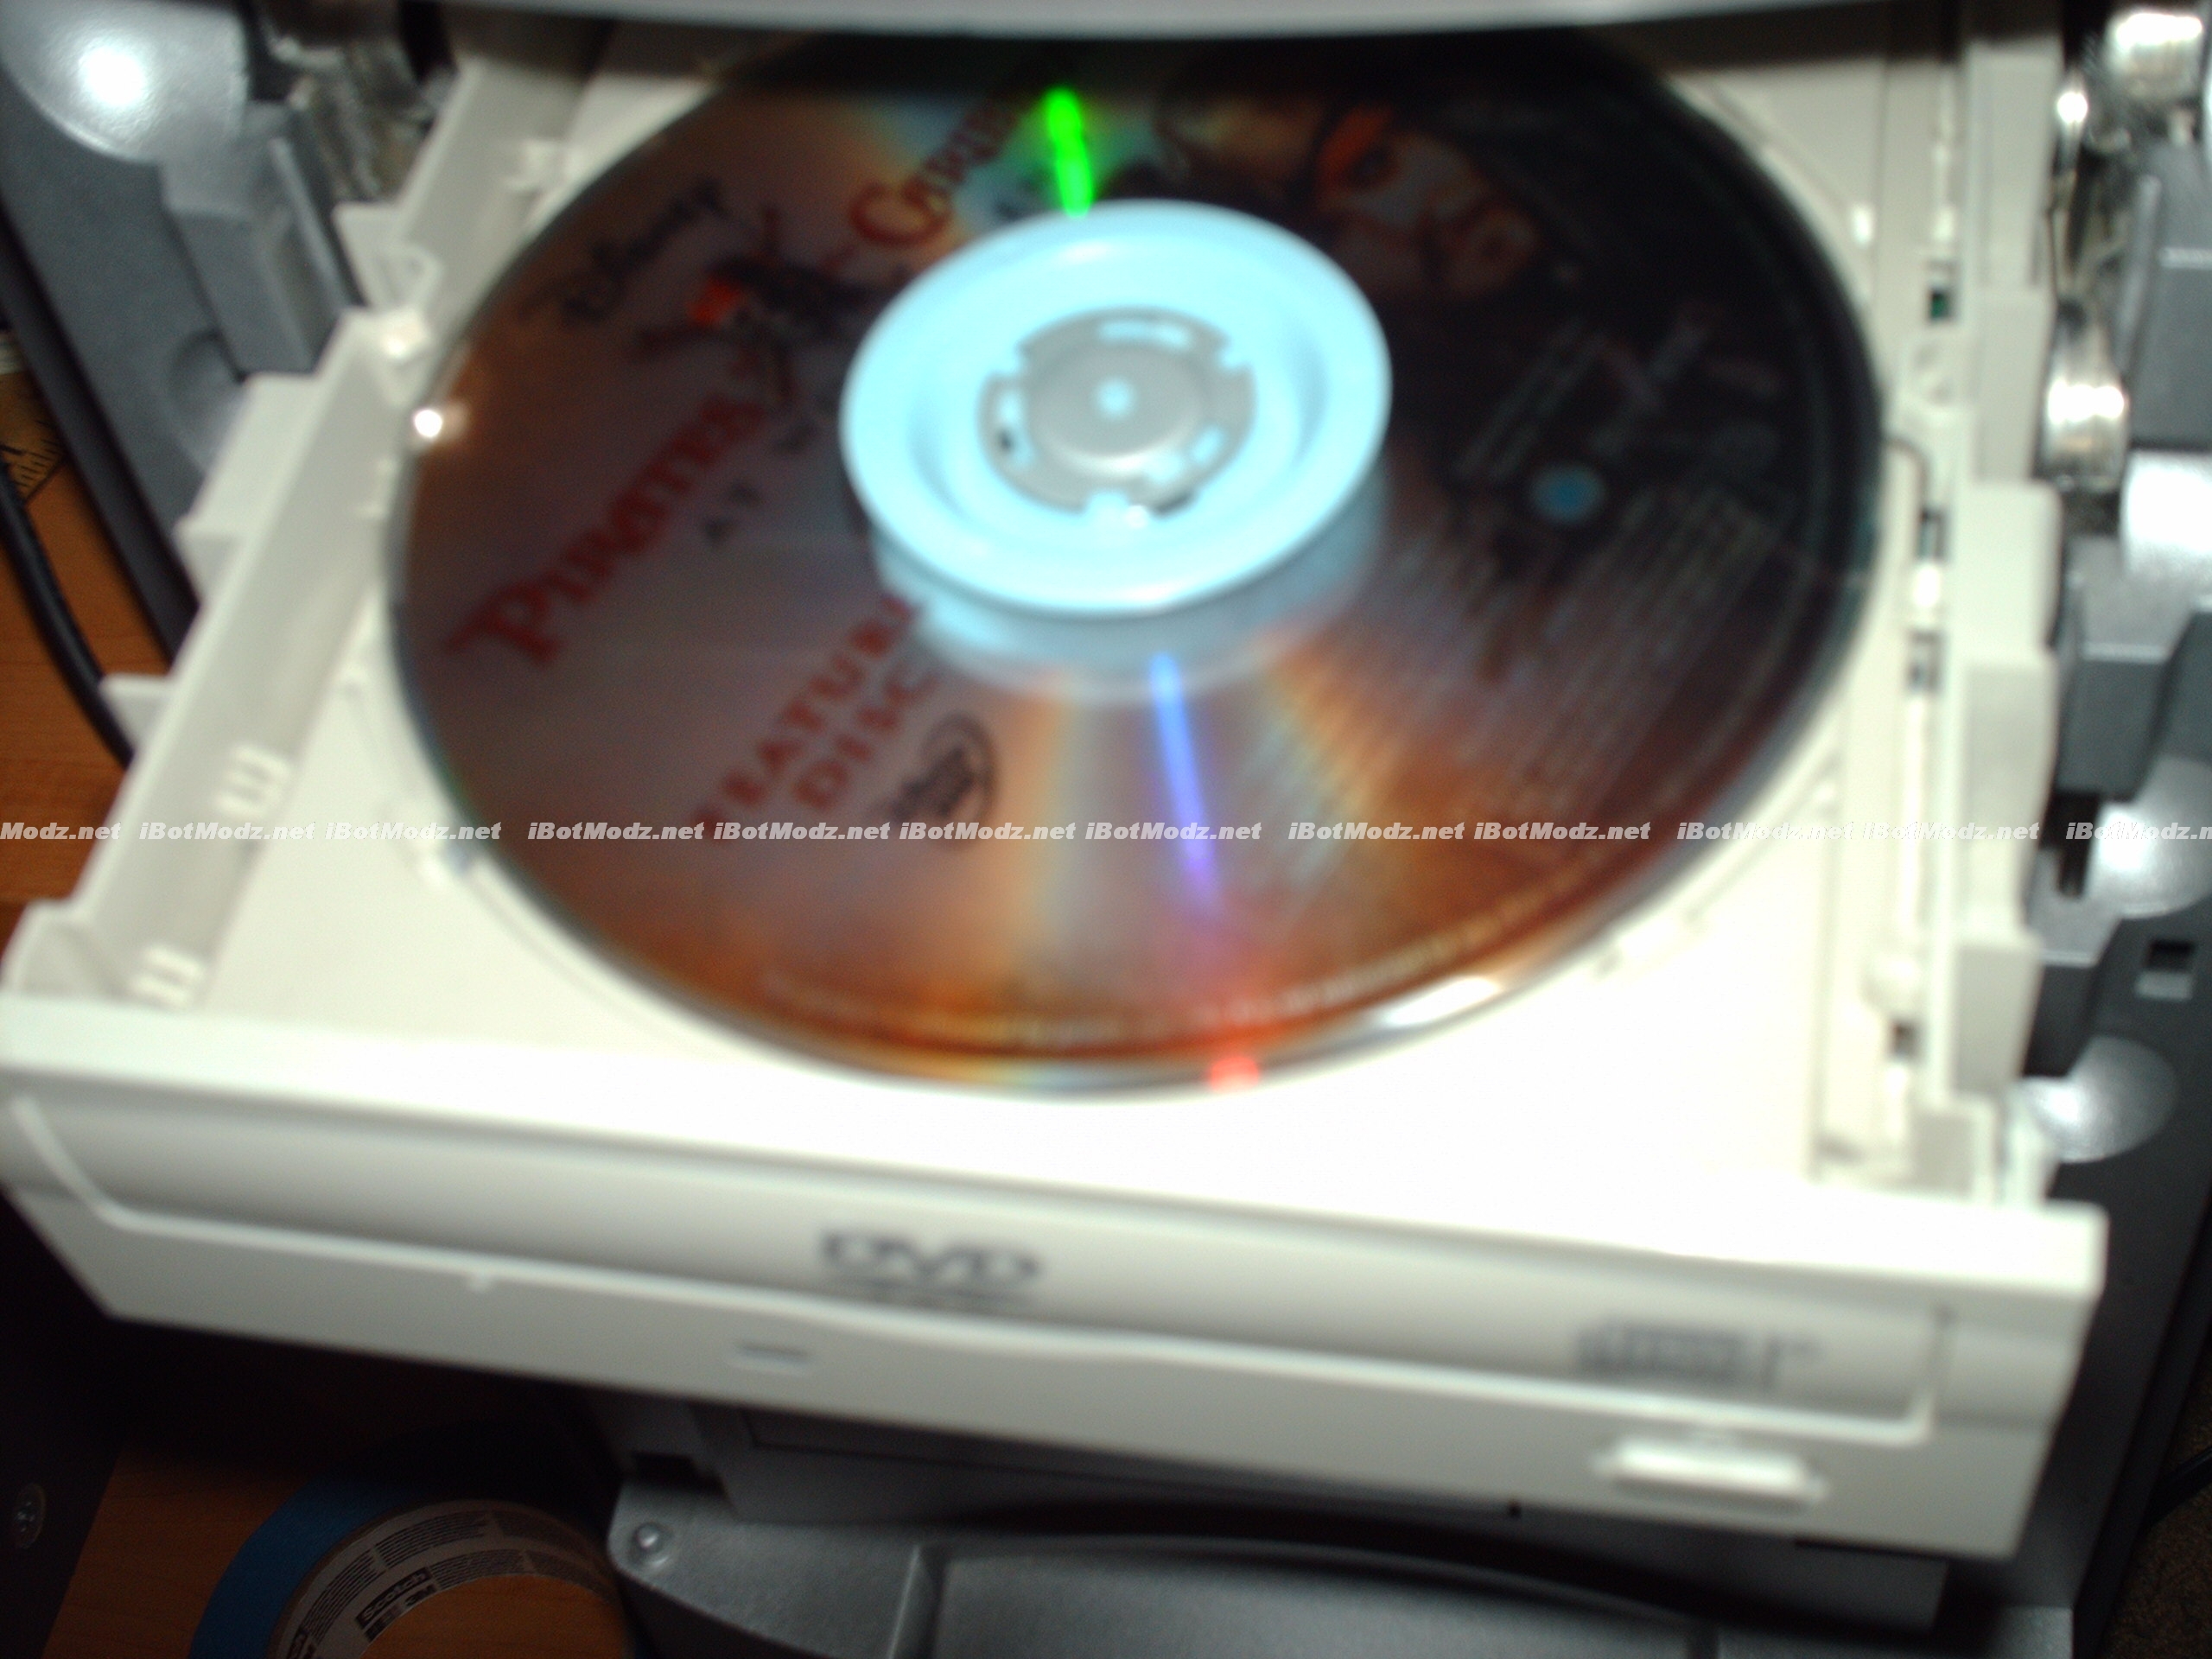
(Its spinning around in Real Life, my camera shutter speed is fast enough to catch it, even though its moving. Our frame rate as a human is too slow, so its moving, but for the camera picture its not)
Now load up wxRipper (Download at bottom)
Click that Magnifying Glass on the right of the green arrow. This will load up the DVD and make sure it loads. If it does you will be greeted like this. It will say "done" in the log box and show tons of numbers.
Now for the hotswap. Click "Stop Drive" under the HotSwap menu. That should slow the DVD down to a stop.
Now you can remove the little blue thing, remove the DVD and neatly and carefully place Halo 3 on the disc drive and place the blue thing back on top.

Go back to wxRipper, and go back to the HotSwap menu and select "Spin Drive"
Now Halo 3 should spin up and you now have "tricked" the system into thinking its burning a DVD. Go to "File" "Start Dump" and begin the RAW DUMP transfer. It may ask you to name your ISO, save it to your desktop and call it "Halo3.iso" This is temporary till we extract it.
This is the start of it. It counts the file size up on the far left till it reaches the full size. I took a picture fairly early so it has awhile to go.
Go grab a drink, and sit down this takes a good 20 minutes. I was gone during this tutorial, so I did not get a picture, and too lazy to burn another copy just to get a picture. It says complete and you now have a Halo3.iso on your desktop.
With this image, lets open wx360. Which comes in the same folder as wxRipper. Once you load up wx360. Go to "File" "Open"
Now browse into your desktop and select Halo3.iso

Like a miracle, all the files load up into a English language that you can read. Go up to "File" "Extract All Files"
Now it will ask you to save it somewhere. I save my stuff on my desktop. so I named it "Halo 3 Files" and saved it there.
Then you watch and wait as it takes about 40 minutes to convert raw .ISO material into usable files.Watch the log on the bottom of the program as it displays the current file being transferred and its fun to watch. The code below is an example of what is shown in the box.
subfile : 040_voi.map @ 0x288720, size 0x18137000 in C:Documents and Settings----DesktopHalo3Filesmaps

 subfile : 050_floodvoi.map @ 0x2B898E, size 0x17E50000 in C:Documents and Settings----DesktopHalo3Filesmaps

subfile : 070_waste.map @ 0x2E862E, size 0x19BA1000 in C:Documents and Settings-----DesktopHalo3Filesmaps
You now have all the Halo 3 raw files on your computer!
Next Tutorial features....
- -Getting DLC Maps
- -Using these maps with Sandbox
- -Making a Mod in Halo 3 to "Mod"
- -Connecting to your xbox 360 with either xPort or xSATA
- Hotswap = Hot swapping may be used to add or remove peripherals or components, to allow a device to synchronize data with a computer, and to replace faulty modules without interrupting equipment operation.
- ISO/IMAGE = An ISO image is an archive file (a.k.a. disk image) of an optical disc using a conventional ISO format that is supported by many software vendors
 wxRipper-1.2.rar 156.42KB
676 downloads
wxRipper-1.2.rar 156.42KB
676 downloads-
wx360-1.6.rar 80.76KB
681 downloads
Q: I get this error.
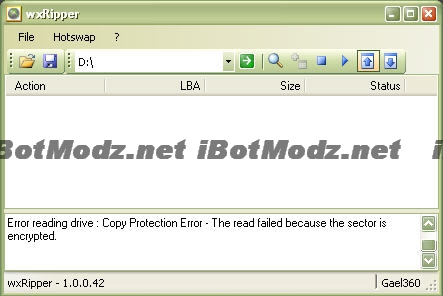
A: You need to get a bigger disc that's not 8gb. Or you when you put in the DVD you took too long and the disc stopped spinning. You always need to disc spinning, until you stop it.
This was written 100% by iBotPeaches of iBotModz.net. All images and words were written by him. No images were taken, and nothing but the glossary was from 3rd party sites. Part 2 will come very soon. This tutorial is only authorized on iBotModz.net and iBotModz Affiliate sites. If you see this elsewhere. Please contact iBotPeaches.
- roadkiller96 likes this


