
How to put together a desktop computer
Part 2
Hey guys I'm back with more parts! As of now, I have every part except the Processor. So, I'm going to have to leave a bunch of things out.
Parts you will need for this tutorial:
Disc drive
Case
Case fan
Screwdriver
Step One: installing the disc drive!

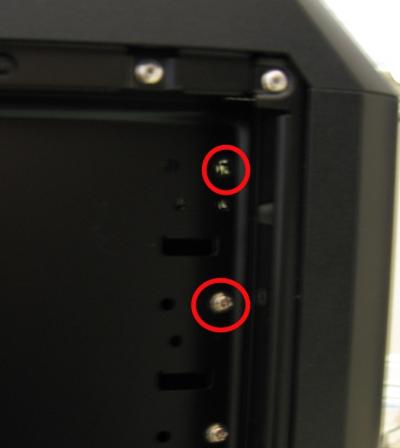
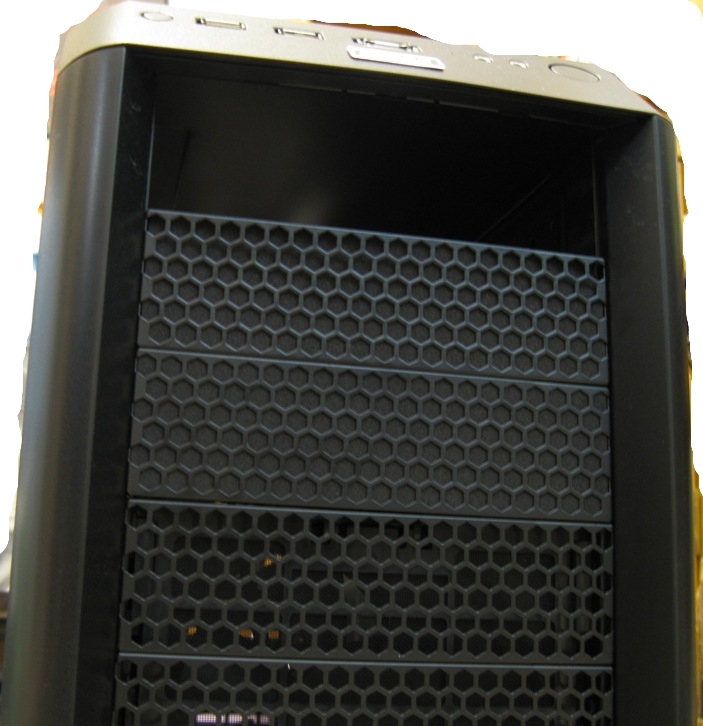
First, take out the front panel of the slot you want the disc drive to go into. There should be two screws on either side of the case, holding the panel in. It took me forever to unscrew them because Antec had them screwed in so tightly I was wearing the screw down every time I tried to unscrew it.
Once you have them unscrewed, take out the panel by pulling on it. It should pop out the front of the case.
Take your disc drive, and slide it into the front slot. We'll worry about the wiring later.

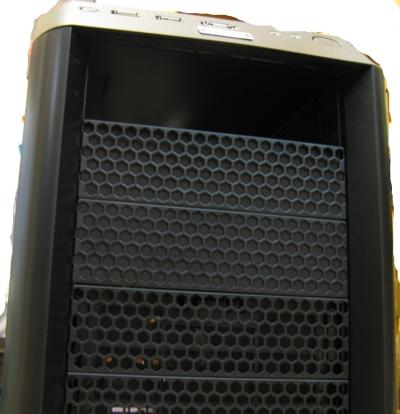
It should look like this from the outside:
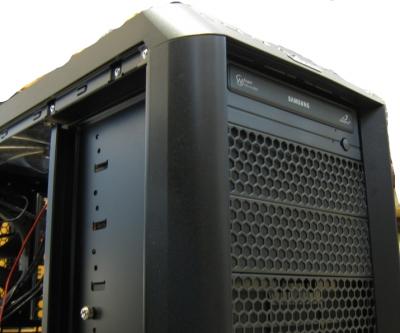
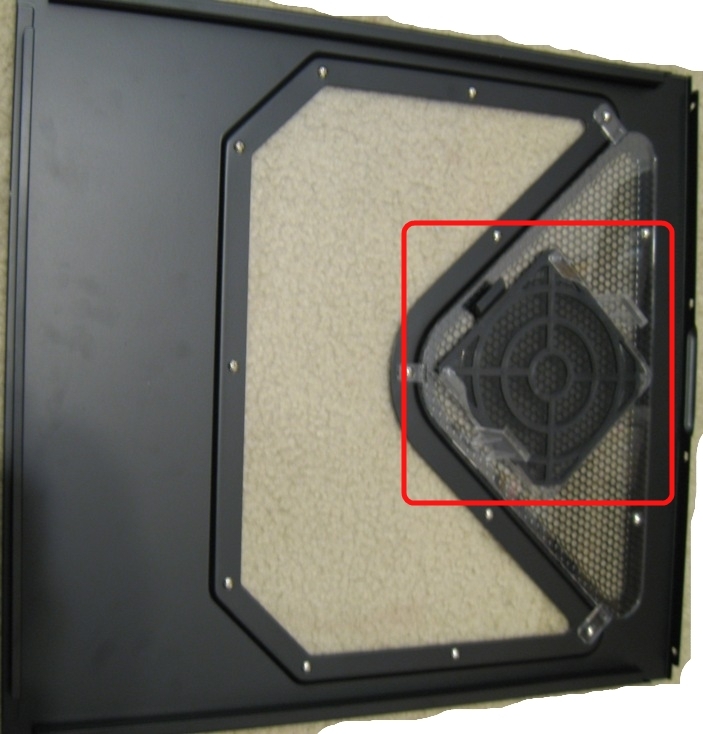
There should be a small bag of screws that came with your case. And there should also be a place to screw in your disc drive to keep it from moving. Find the holes in the side that match up with each other, and put a screw there to keep the disc drive from moving anywhere and hurting your computer.
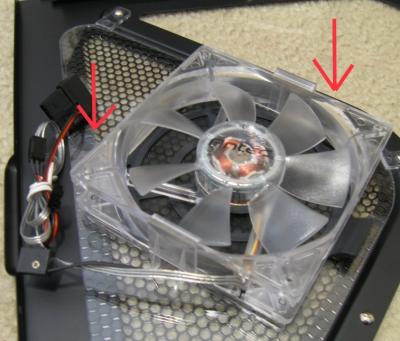
Step Two: Installing the Case Fan
You can skip this if you want. Some people prefer more fans for their hardcore computers, so they don't overheat as easily when (in some cases) overclocking. I bought an extra fan for a side vent that was in my case.
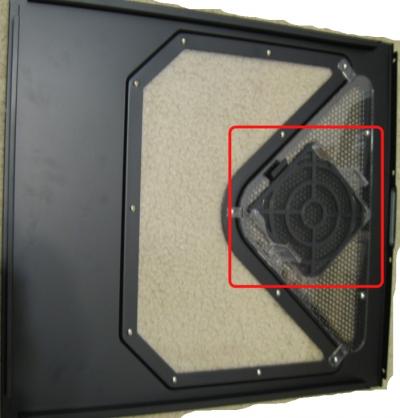
Remove the panel that holds your fan vent hole, and clamp. Place the fan directly on top of the clamp already on the panel. Make sure it is even and slowly push down, moving one clamp outward to let in one side, then the other. simple.
My next part will be much bigger, it will include all of the wiring and everything with the motherboard. Pics had everything you don't need erased because you really don't need to see my dirty room.
Part 2
Hey guys I'm back with more parts! As of now, I have every part except the Processor. So, I'm going to have to leave a bunch of things out.
Parts you will need for this tutorial:
Disc drive
Case
Case fan
Screwdriver
Step One: installing the disc drive!

First, take out the front panel of the slot you want the disc drive to go into. There should be two screws on either side of the case, holding the panel in. It took me forever to unscrew them because Antec had them screwed in so tightly I was wearing the screw down every time I tried to unscrew it.

Once you have them unscrewed, take out the panel by pulling on it. It should pop out the front of the case.
Take your disc drive, and slide it into the front slot. We'll worry about the wiring later.
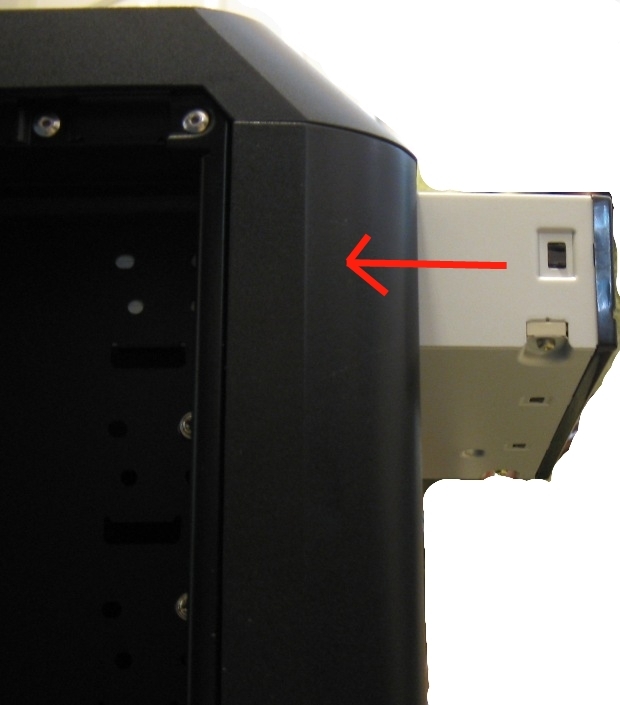
It should look like this from the outside:

There should be a small bag of screws that came with your case. And there should also be a place to screw in your disc drive to keep it from moving. Find the holes in the side that match up with each other, and put a screw there to keep the disc drive from moving anywhere and hurting your computer.
Step Two: Installing the Case Fan
You can skip this if you want. Some people prefer more fans for their hardcore computers, so they don't overheat as easily when (in some cases) overclocking. I bought an extra fan for a side vent that was in my case.
Remove the panel that holds your fan vent hole, and clamp. Place the fan directly on top of the clamp already on the panel. Make sure it is even and slowly push down, moving one clamp outward to let in one side, then the other. simple.

My next part will be much bigger, it will include all of the wiring and everything with the motherboard. Pics had everything you don't need erased because you really don't need to see my dirty room.
- Quinn, REDSTAR 105 and Grape soda like this


