
The Complete Halo 3 Modding Tutorial (Part 2 of 5)
Written by iBotPeaches of iBotModz.net
What we are covering in this session
Now that you have your Halo 3 disc maps that we got from Part 1 of this tutorial, we can move onto extracting user maps and the DLC maps such as Blackout, and Ghost Town to increase your modding abilities. We will also show how to find your gamertag's folder, find user maps and navigate around your hard drive.
Requirements
Steps
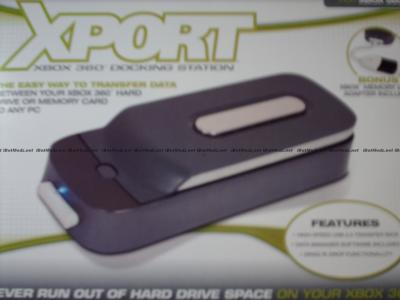
First off get out your XSATA and XPORT and connect your hard drive to it. If you do not know how, please read the instruction manual that came with your product. I will be using Xport for this tutorial, it does not require the 360. It is a docking station for the hard drive. I apologize for the blurriness of my pictures, my camera must be broken.
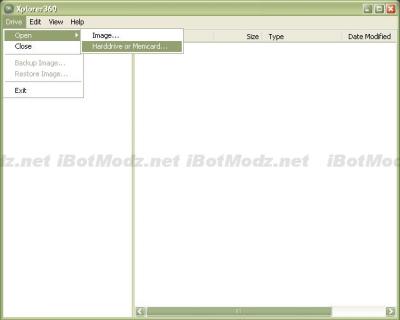
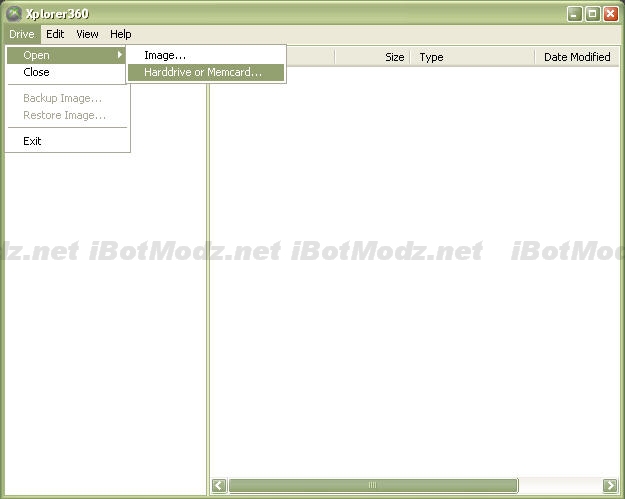
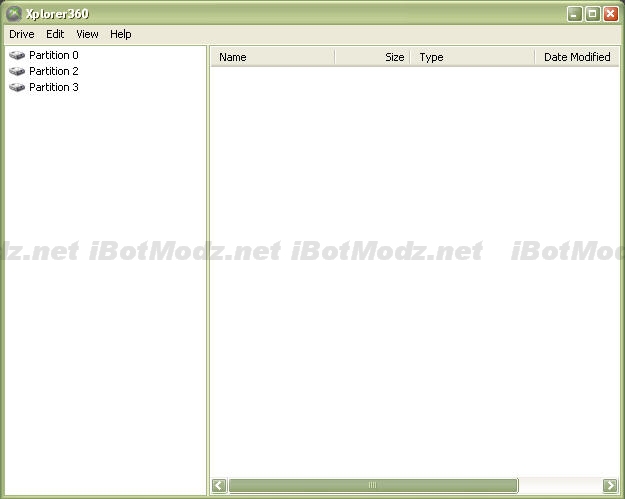
Now open up either Xport 360 or Xplorer 360. This post will only provide downloads for Xplorer 360, and that is what the tutorial will also use. However Xport 360 works just as well. You should be greeted with a simple program that is blank. Go up to "file", "open" "hard drive or memory card"
If your hard drive is connected properly and nothing is wrong, 3 partitions will appear on the left side. If you cannot get your hard drive files to appear, go through the manual of your product. There are some settings you can forget.
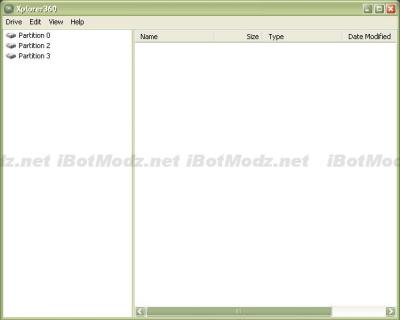
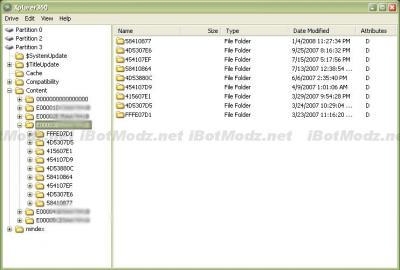
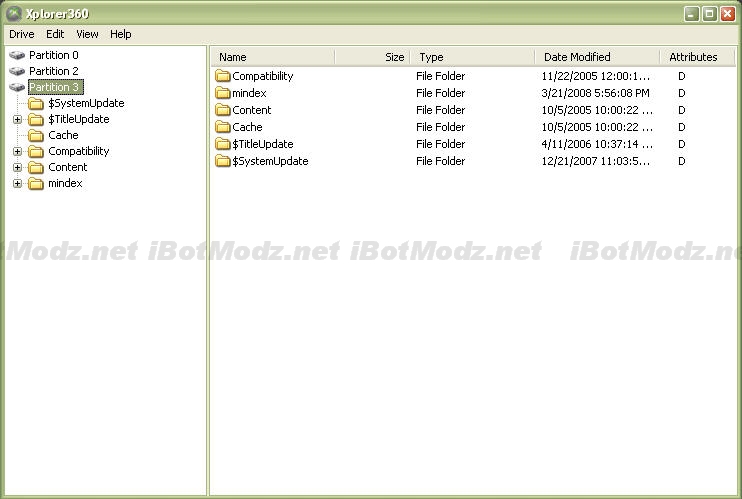
Partition 3 is where all the files we need will be stored. I believe Partition 1, is all cache. Partition 2 handles the emulators and backwards compatibility for the normal xbox. (If that is wrong, drop me a PM and I will update this) ,and Partition 3 holds all xbox 360 related files. So we will double click "Partition 3" on the left side to expand it
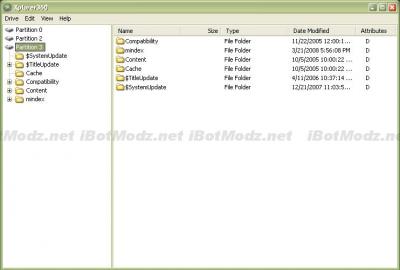
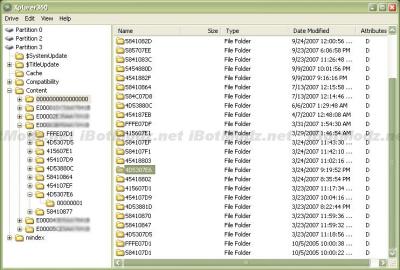
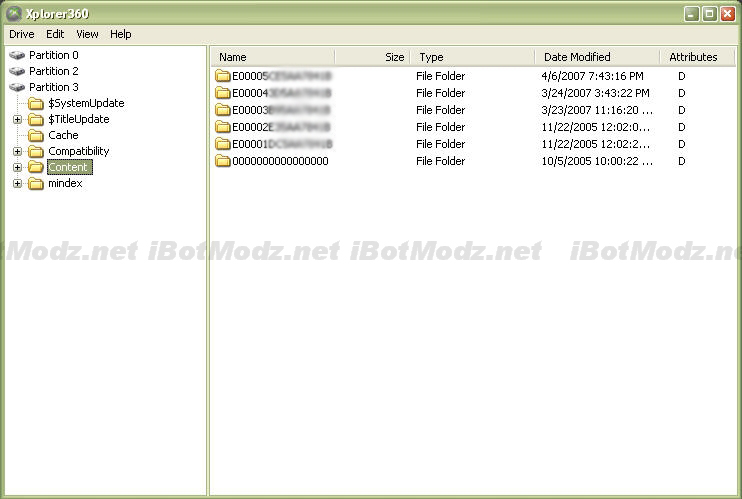
As simple as it looks "Content" will be storing our files. You can double click content to expand its files.

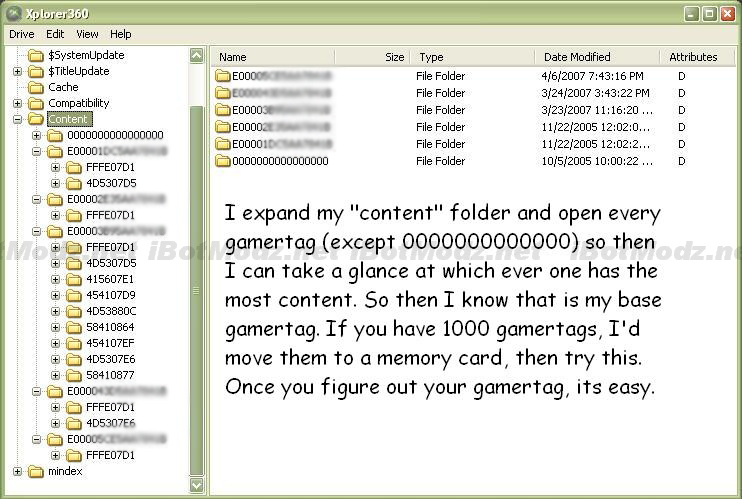
Now you can see that the gamertag that is blurred out (there all blurred out, but the one with the most folders), is my main gamertag. It means it has stuff stored for 9 games (which represents the 9 folders)

The Halo 3 folder is 4D5307E6, which is within my gamertag folder. So double click that folder to open up the game's custom content files.
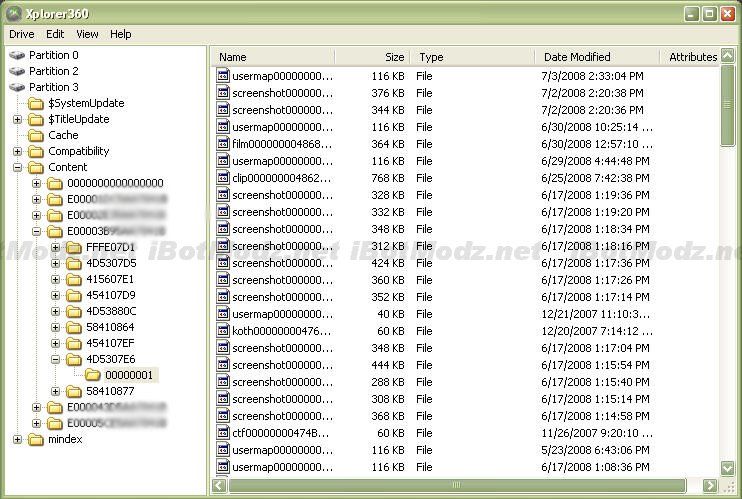
Now you will be greeted by a folder named 00000001, directly inside the 4D5307E6 folder. This 00000001 folder holds all user maps and game types.
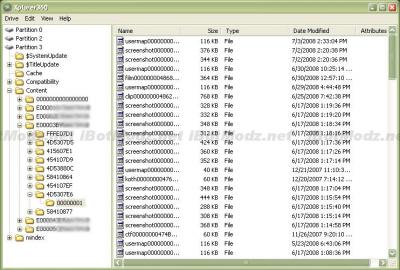
You can now drag and drop those to your computer based on what you want to do. Remember the ideal forge map size is 116kb. If its anything different you either selected "save changes" or just broke your map. For such rehashing reasons and resigning issues, its recommended to make sure your forge user map size is 116kb.
Now lets get the remaining Halo 3 DLC Maps
Now lets go to Partition 3 and open the "content" folder as we did to get our user maps.
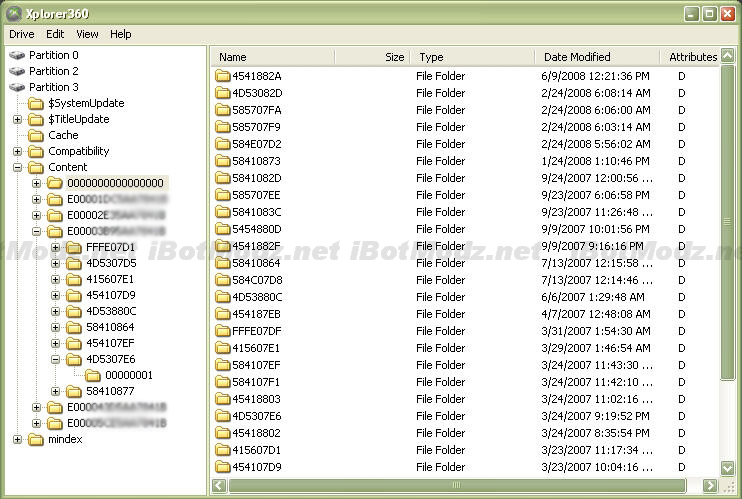
This time we will click the 0000000000 folder as it holds all of games content, that isn't user made Please ignore that opened gamer tag folder. I forgot to close it, just open the 00000000 folder.
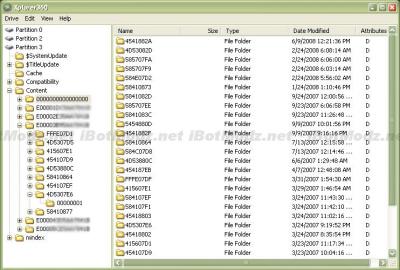
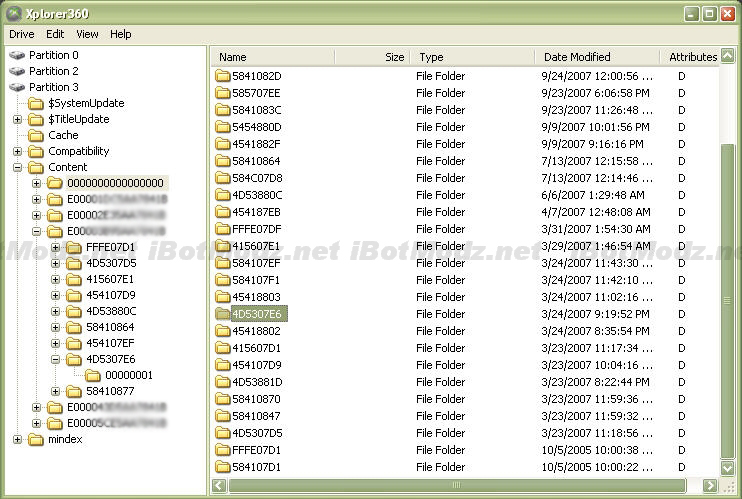
If you did it correctly tons of games will appear on the right side. However they are in different names. 4D5307E6 represents the Halo 3 content and that is what you want to click on.
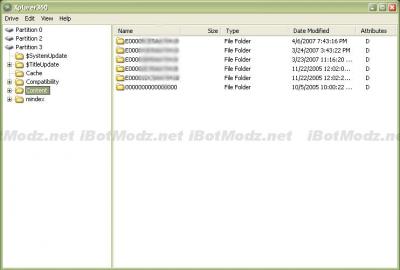
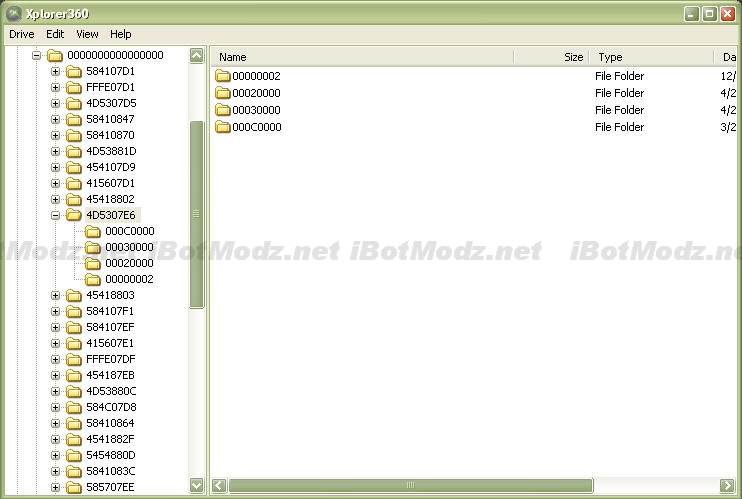
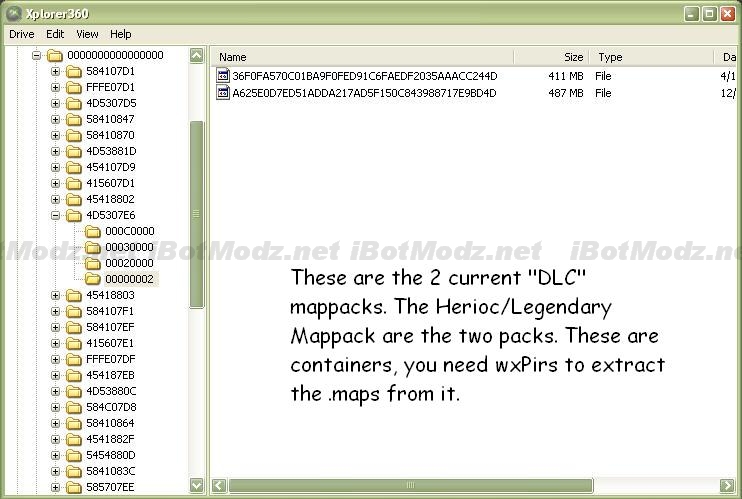
By successfully clicking on 4D5307E6 (Halo 3 folder) you should be greeted with 4 sub-folders. Those folders are 00020000, 00030000, 000000002, and 000C0000. Ignore all folders except the 00000002.
[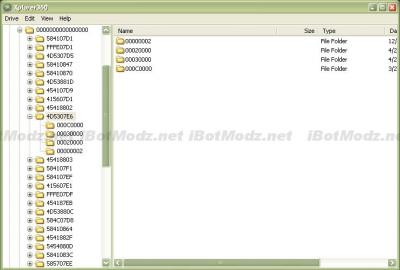
Now you double click that 00000002 folder to see all the Halo 3 DLC Maps. The maps are not in the .MAP format. They are in a container file. Your job is now to get those container files to your computer.

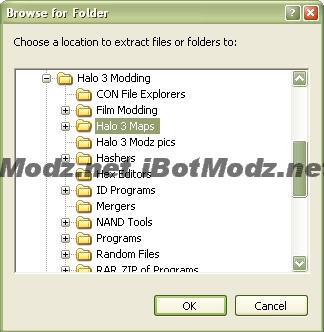
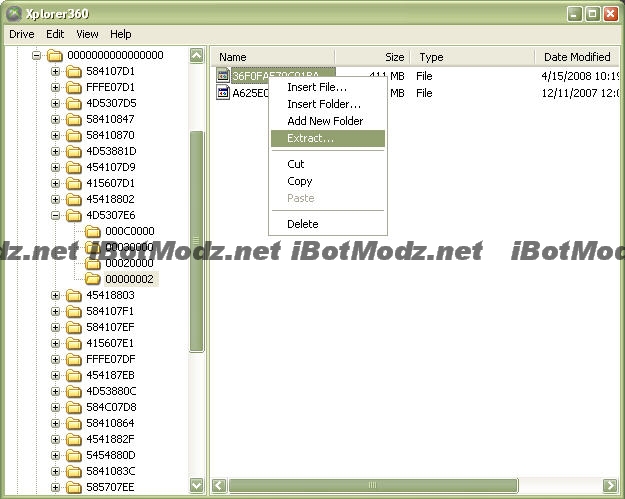
Use the "extract" function of Xplorer360 to extract them into your Halo 3 folder. Or desktop (your preference)

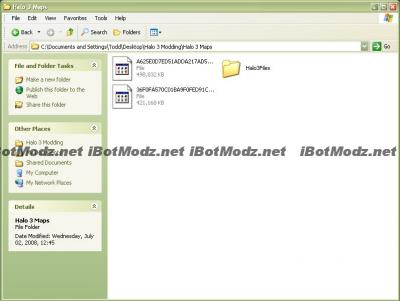
I'm looking for my Halo 3 folder, as it prompts for a place to store the file.
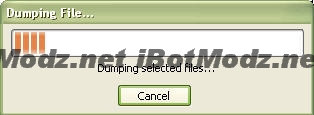
Now it dumps the container file directly into that folder. Don't worry the container files will stay on your 360. Your not moving it, just copying it. Repeat this for all container files, with current updates there are now 3.
Now we have the container DLC maps on our computer.
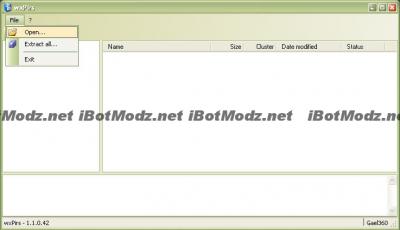
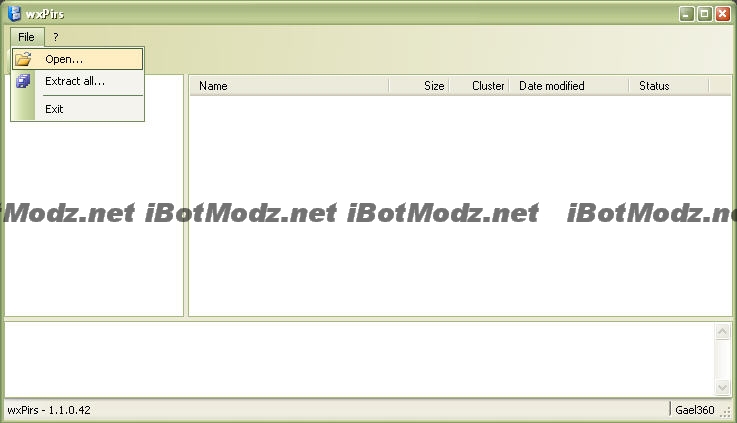
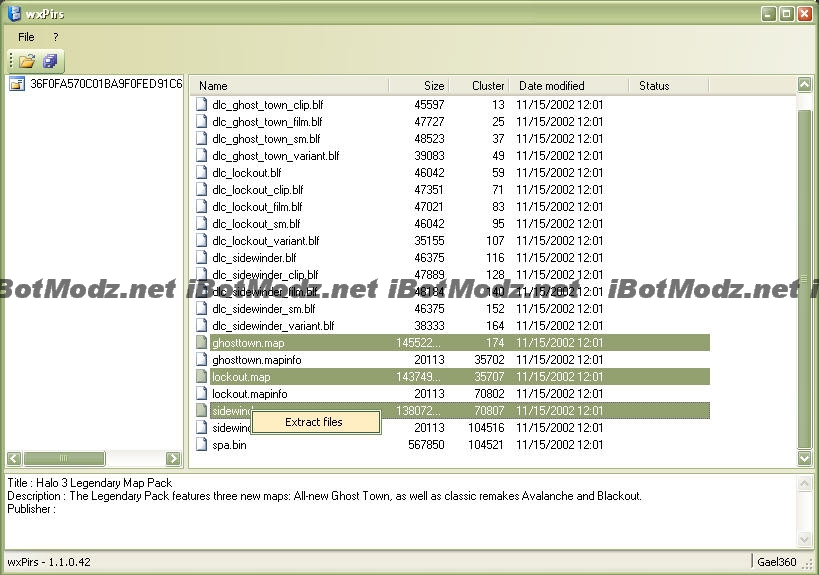
We will now take those maps and extract them into their raw .map format. For this we will need wxPirs (download at bottom) Open up wxPirs, and go to "file" "open..."
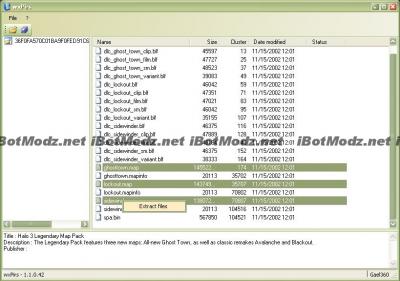
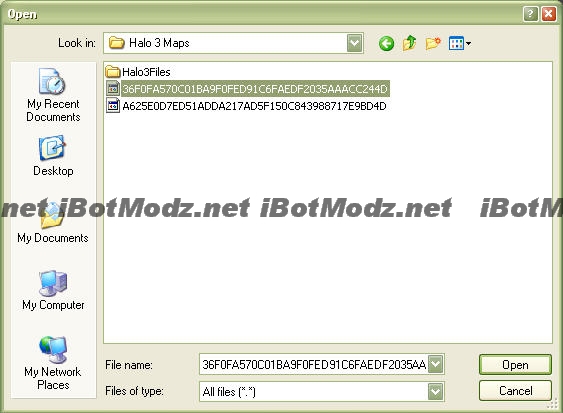
Now you should select one of those container files we extracted from your hard drive.

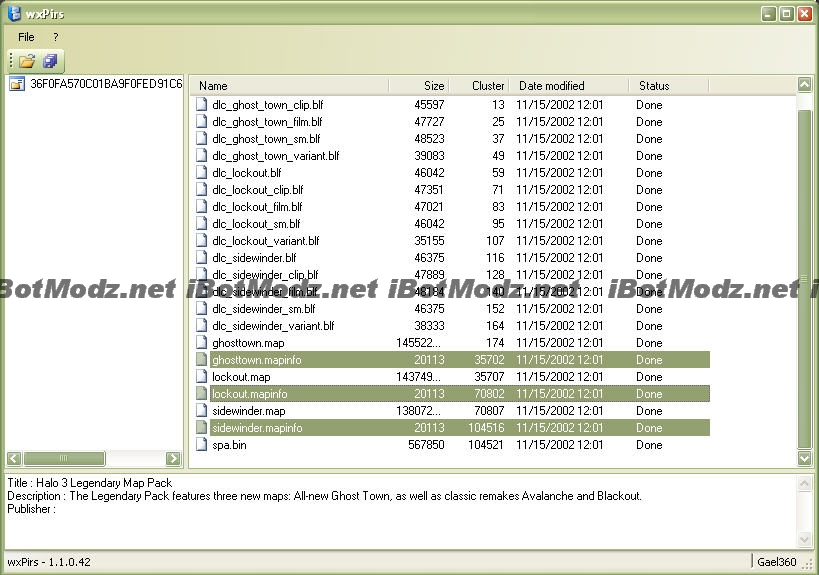
This will extract the files and make them readable. You will now see the .mapinfo, .bin and .map files. The disc maps .mapinfo files were stored in a different folder on the disc, so we will extract the files into the correct place of the Halo 3 disc maps. Follow the pictures to understand more. First we will select all the .MAP files with "CNTRL". I used the Legendary Mappack as you can tell, so If yours doesn't match you can switch container files to match this tutorial exactly.
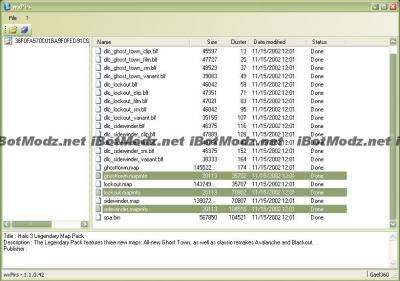
Note on the picture above, how I selected all the .map and moved them to the maps folder with Part 1 of this tutorial. I then moved the .mapinfo files and .bin files and moved those into the same folder as the disc maps. This allows the programs such as Sandbox to open all maps without problems.When done you should have all the DLC .mapinfo, .bin and .map files moved into the same place as the disc maps, that we did in Part 1. The picture below is selecting all the .mapinfo files
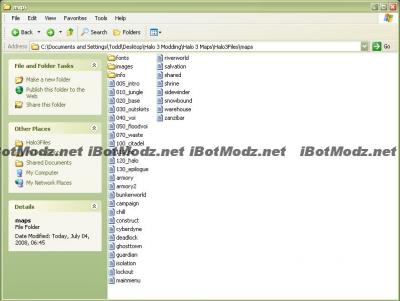
Once you extract all the DLC containers, you should have all the .mapinfo, .bin, and .maps in your same folder as part 1 of this tutorial. This picture shows the root folder should look like with the addition of both the Heroic and Legendary Mappack.
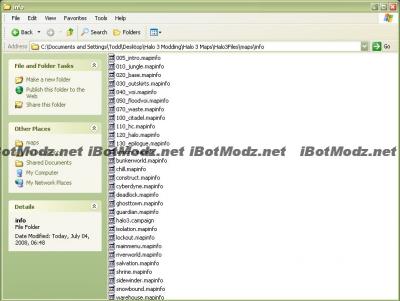
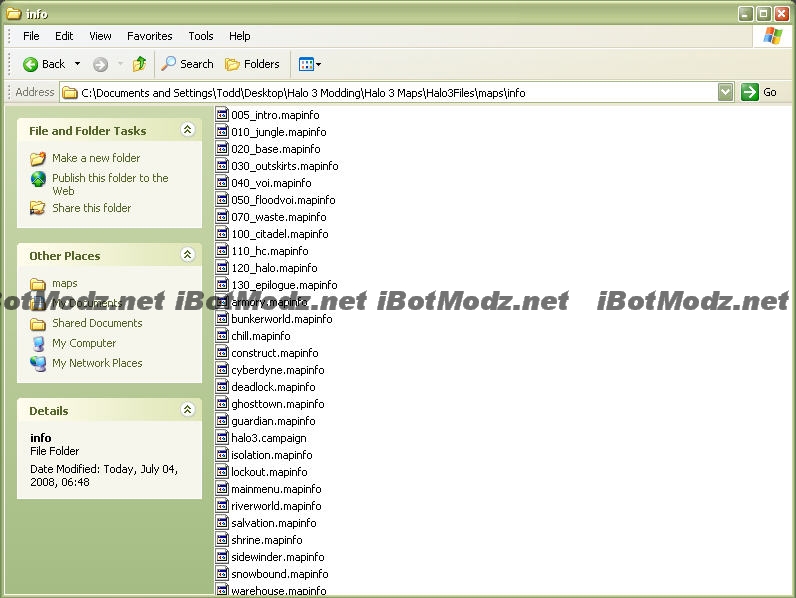
This is a picture of how the info folder should look.
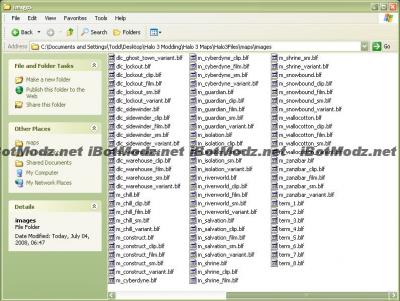
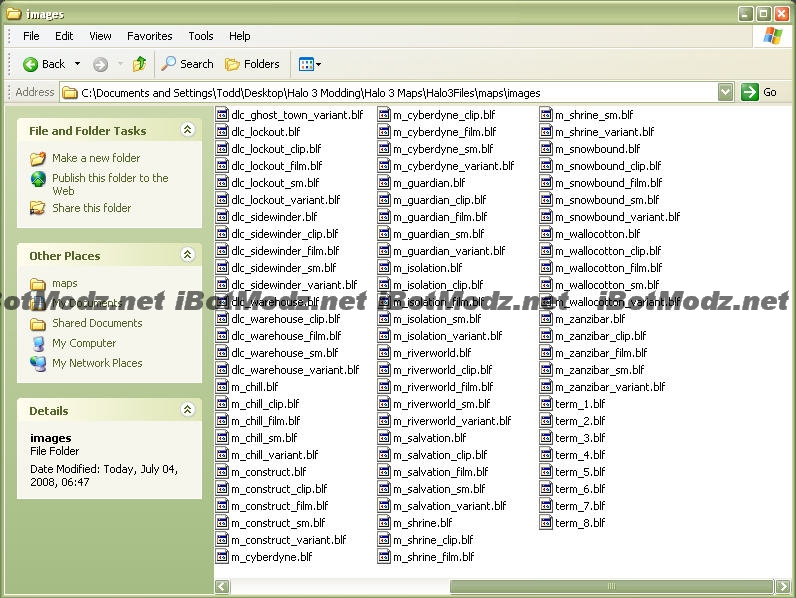
And this how the images folder should look.
If they don't match, you extracted the files to wrong place. You should get the idea by looking at these pictures, so go back and re-extract them.
Glossary
Disc Maps:Maps from the Halo 3 disc.
Partition: A separate part of the hard drive, split into "sections"
Downloads
 XPlorer_360_Extreme_2.rar 54.61KB
677 downloads
XPlorer_360_Extreme_2.rar 54.61KB
677 downloads
wxPirs-1.1.rar 41.26KB
665 downloads
This was written 100% by iBotPeaches of iBotModz.net. All images and words were written by him. No images were taken, and nothing but the glossary was from 3rd party sites. Part 2 will come very soon. This tutorial is only authorized on iBotModz.net and iBotModz Affiliate sites. If you see this elsewhere. Please contact iBotPeaches.
Written by iBotPeaches of iBotModz.net
What we are covering in this session
Now that you have your Halo 3 disc maps that we got from Part 1 of this tutorial, we can move onto extracting user maps and the DLC maps such as Blackout, and Ghost Town to increase your modding abilities. We will also show how to find your gamertag's folder, find user maps and navigate around your hard drive.
Requirements
- -xSATA or Xport
- -Xplorer 360 Beta 6 or Xport 360
- -Xbox 360 Hard drive
- -WxPirs
Steps
First off get out your XSATA and XPORT and connect your hard drive to it. If you do not know how, please read the instruction manual that came with your product. I will be using Xport for this tutorial, it does not require the 360. It is a docking station for the hard drive. I apologize for the blurriness of my pictures, my camera must be broken.

Now open up either Xport 360 or Xplorer 360. This post will only provide downloads for Xplorer 360, and that is what the tutorial will also use. However Xport 360 works just as well. You should be greeted with a simple program that is blank. Go up to "file", "open" "hard drive or memory card"
If your hard drive is connected properly and nothing is wrong, 3 partitions will appear on the left side. If you cannot get your hard drive files to appear, go through the manual of your product. There are some settings you can forget.
Partition 3 is where all the files we need will be stored. I believe Partition 1, is all cache. Partition 2 handles the emulators and backwards compatibility for the normal xbox. (If that is wrong, drop me a PM and I will update this) ,and Partition 3 holds all xbox 360 related files. So we will double click "Partition 3" on the left side to expand it
As simple as it looks "Content" will be storing our files. You can double click content to expand its files.
Now you can see that the gamertag that is blurred out (there all blurred out, but the one with the most folders), is my main gamertag. It means it has stuff stored for 9 games (which represents the 9 folders)
The Halo 3 folder is 4D5307E6, which is within my gamertag folder. So double click that folder to open up the game's custom content files.

Now you will be greeted by a folder named 00000001, directly inside the 4D5307E6 folder. This 00000001 folder holds all user maps and game types.
You can now drag and drop those to your computer based on what you want to do. Remember the ideal forge map size is 116kb. If its anything different you either selected "save changes" or just broke your map. For such rehashing reasons and resigning issues, its recommended to make sure your forge user map size is 116kb.
Now lets get the remaining Halo 3 DLC Maps
Now lets go to Partition 3 and open the "content" folder as we did to get our user maps.

This time we will click the 0000000000 folder as it holds all of games content, that isn't user made Please ignore that opened gamer tag folder. I forgot to close it, just open the 00000000 folder.
If you did it correctly tons of games will appear on the right side. However they are in different names. 4D5307E6 represents the Halo 3 content and that is what you want to click on.
By successfully clicking on 4D5307E6 (Halo 3 folder) you should be greeted with 4 sub-folders. Those folders are 00020000, 00030000, 000000002, and 000C0000. Ignore all folders except the 00000002.
[
Now you double click that 00000002 folder to see all the Halo 3 DLC Maps. The maps are not in the .MAP format. They are in a container file. Your job is now to get those container files to your computer.
Use the "extract" function of Xplorer360 to extract them into your Halo 3 folder. Or desktop (your preference)
I'm looking for my Halo 3 folder, as it prompts for a place to store the file.
Now it dumps the container file directly into that folder. Don't worry the container files will stay on your 360. Your not moving it, just copying it. Repeat this for all container files, with current updates there are now 3.
Now we have the container DLC maps on our computer.

We will now take those maps and extract them into their raw .map format. For this we will need wxPirs (download at bottom) Open up wxPirs, and go to "file" "open..."
Now you should select one of those container files we extracted from your hard drive.
This will extract the files and make them readable. You will now see the .mapinfo, .bin and .map files. The disc maps .mapinfo files were stored in a different folder on the disc, so we will extract the files into the correct place of the Halo 3 disc maps. Follow the pictures to understand more. First we will select all the .MAP files with "CNTRL". I used the Legendary Mappack as you can tell, so If yours doesn't match you can switch container files to match this tutorial exactly.
Note on the picture above, how I selected all the .map and moved them to the maps folder with Part 1 of this tutorial. I then moved the .mapinfo files and .bin files and moved those into the same folder as the disc maps. This allows the programs such as Sandbox to open all maps without problems.When done you should have all the DLC .mapinfo, .bin and .map files moved into the same place as the disc maps, that we did in Part 1. The picture below is selecting all the .mapinfo files
Once you extract all the DLC containers, you should have all the .mapinfo, .bin, and .maps in your same folder as part 1 of this tutorial. This picture shows the root folder should look like with the addition of both the Heroic and Legendary Mappack.

This is a picture of how the info folder should look.
And this how the images folder should look.
If they don't match, you extracted the files to wrong place. You should get the idea by looking at these pictures, so go back and re-extract them.
Glossary
Disc Maps:Maps from the Halo 3 disc.
Partition: A separate part of the hard drive, split into "sections"
Downloads
XPlorer_360_Extreme_2.rar 54.61KB
677 downloads
wxPirs-1.1.rar 41.26KB
665 downloadsThis was written 100% by iBotPeaches of iBotModz.net. All images and words were written by him. No images were taken, and nothing but the glossary was from 3rd party sites. Part 2 will come very soon. This tutorial is only authorized on iBotModz.net and iBotModz Affiliate sites. If you see this elsewhere. Please contact iBotPeaches.
- iTzoODavidOo likes this


