
Tutorial written by : Efini
Introduction & Disclaimer
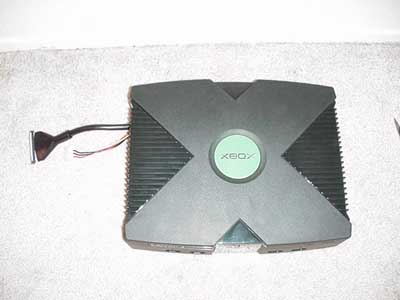
This tutorial is instructions for constructing an external hard drive dock to the XBOX. I wanted an easy way to swap hard drives for use with Evolution-X. By having an external mobile Hard drive rack that are commonly used on 5.25" bays for PCs, people can easily switch between multiple hard drives with stored data like divx or games. I also wanted a way to switch back to my original hard drive in the event of compatability problems with the XBOX Live! service.
By performing the instructions provided by this tutorial, you acknowledge you are voiding your XBOX warranty and that the author takes no responsibility for damages (if any). And yes I know, I am a terrible photographer.
Materials Needed:
Wire Cutters
Round IDE Cable
Power Extension Cable
Nail File (optional)
The wire cutters are used to cut the XBOX's metal chassis and a small pillar on the side of the lid. The Nail File is used to sand down the plastic on the lid after you have cut off the small pillar. The power extension cable is used since the default XBOX power supply's cable isn't long enough. Lastly, the round ide cables are used for aesthetic purposes. You could still use the flat ide ribbon cable that came with the XBOX
Step 1: Cutting the Chassis
By now, you should have your XBOX dissasembled and have the internal components removed except for the power supply, fan, controller ports, and the on/off + eject buttons. Now position the chassis so you have the portion circled in red in front of you from diagram 1. Use your wire cutters and remove the the chassis area like diagram 2.
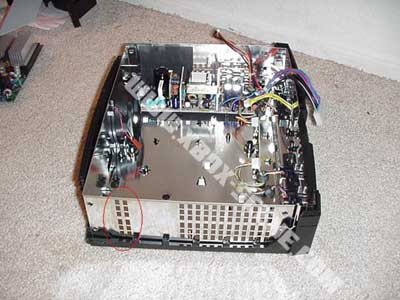
diagram1
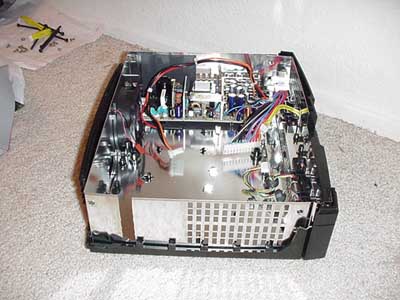
diagram2
Step 2: Cutting the Lid
The next step is cutting the bottom half of the small pillar off the top lid. Notice the direction of the XBOX lid in diagram 3, so you will know which side and pillar to cut off. Use your wire cutters to remove the pillar circled in yellow in diagram 3. You can use a nail file to smooth the edges. Upon completion, it should look like diagram 4.
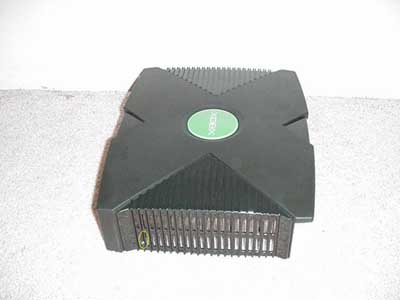
diagram3
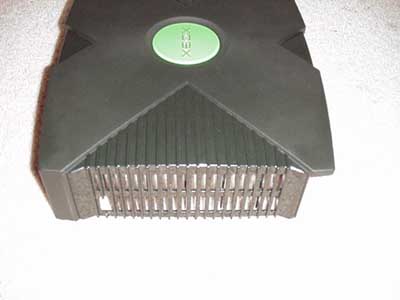
diagram4
Step 3: Preparing the Round IDE Cable
This step is relatively simple. Completely cut off the sheaths of the two close ide plug ends (black and grey).The one that is far away (blue) is for the mobile hard drive rack so you will want to cut it just enough so that it can slide off the ide head. This sheath will be used for later.
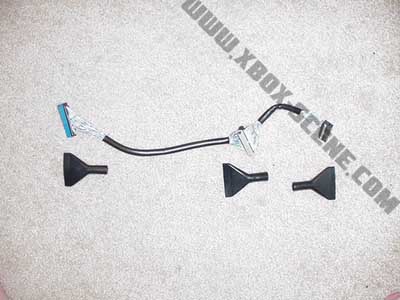
diagram5
Step 4: Preparing the Power Supply Cable
Simply plug the power extension cable to the XBOX power supply. Route it through your XBOX like Diagram 6. Also make sure it isn't too close to the fan.
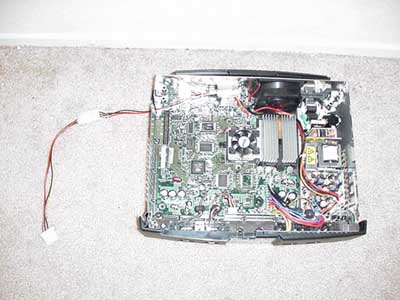
diagram6
Step 5: Cable Placement through the Lid
Place the blue end of the round ide cable through the hole you made in the lid. After it is placed through re attach the sheath to the ide cable. You can use black electrical tape to wrap up the cut made in the sheath.
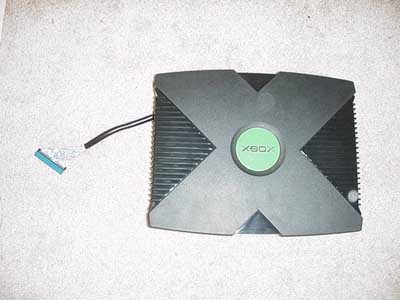
diagram7
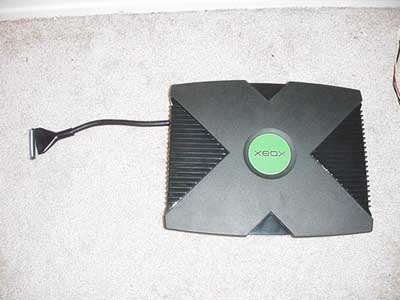
diagram8
Step 6: Putting it all together
Place the lid next to the XBOX and put the power plug through. You may need to cut the sides off the plug to get it to fit through the hole. Simply put everything back together and congratulations! you are done.
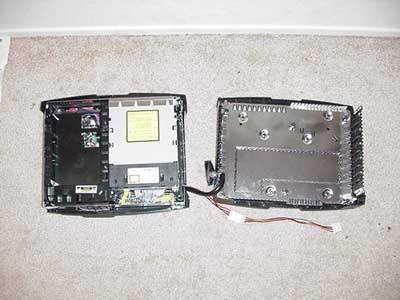
diagram9
top view

side view
Special Thanks to Evolution-X team for making the Hard Drive swap possible and Xbox-Scene.com for the best in XBOX hobbyist needs.
Tutorial written by : Efini


