
This tutorial will be made as I make it. I'm currently performing the JTAG hack on my own xbox and will post tutorial results as I complete them.
Part 1: "Gathering your materials"
Written by iBotPeaches
First off, we will be making a "clean" nand dump connection. This means you will be able to remove the cable without de-soldering. Thus, you won't have cables anywhere. This tutorial also assumes you know how to take apart your xbox 360. This is the tutorial I used for taking apart my xbox.
Requirements:
(Most of these items can be picked up at a local RadioShack.)
Not required, but helpful items.
Key Points
Images:
(Figure 01)

(Figure 02)
(Figure 03)
Part 1: "Gathering your materials"
Written by iBotPeaches
First off, we will be making a "clean" nand dump connection. This means you will be able to remove the cable without de-soldering. Thus, you won't have cables anywhere. This tutorial also assumes you know how to take apart your xbox 360. This is the tutorial I used for taking apart my xbox.
Requirements:
(Most of these items can be picked up at a local RadioShack.)
- A computer with a LPT Port, and 32 bit OS (Figure 01)
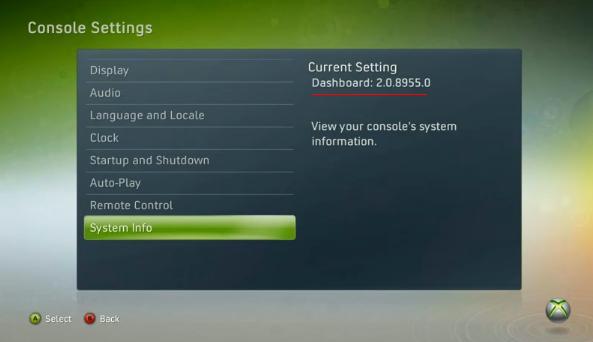
- Xbox 360 with older dash then 8495 (Figure 03)
- Xbox Hard Drive
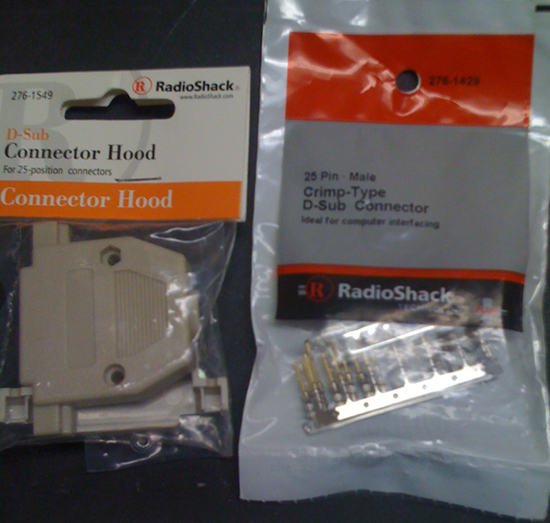
- DB25 25-way male plug (RadioShack Link) (Figure 02)
- D-Sub hood 25-way (RadioShack Link) (Figure 02)
- Standard RJ45 / CAT5 Cable (If you require one, buy a cheap one)
- 2-6 100ohm resistors ( RadioShack Link)
- Soldering Iron (RadioShack Link)
Computer Based Applications - Total Commander (File Compare Program)
- 360 Flash Tool (Program)
- NAND Compare (Compare NANDs)
- NAND Pro (It only worked on 32bit XP for me.)
- Degraded (Used for testing nand dump for bad blocks)
Not required, but helpful items.
- Flux (Make clean solder points)
- Multimeter (Check your points, and double check to prevent problems)
- Electrical Tape (Tape down your cables to prevent snagging)
- Low Soldering Iron (You need one, just a low watt one)
Key Points
- You can use a variety of switching diodes such as BAT41, N4148 or PH4148.
- The resistors are not needed on some setups, it just protects your xbox and prevents silly errors
- Please please be careful when soldering, and use a low watt iron. Something too strong will lift traces and make a horrible experience.
- Most errors are caused by a long cable, so try and make all connections involved in your NAND dump as short as possible.
Images:
(Figure 01)
(Figure 02)
(Figure 03)
- REDSTAR 105, jmdalmighty, Pargy and 4 others like this


